Did you have a book like this when you were a kid?
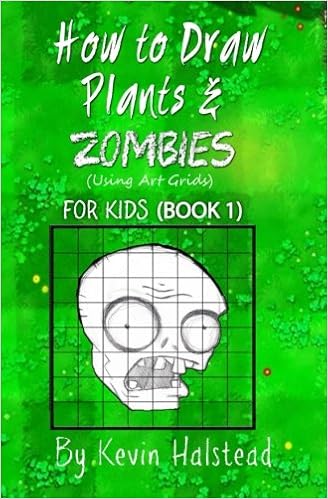
If you’re anything like me, you’d probably feel pretty silly purchasing a book like this as an adult, subject matter aside. Even for those of us who never learned to draw, we know we really should be beyond making little grids and copying lines into them. Learning to draw using this method is pretty much the equivalent of learning how to paint by using Paint by Numbers.
Right?
Apparently not.
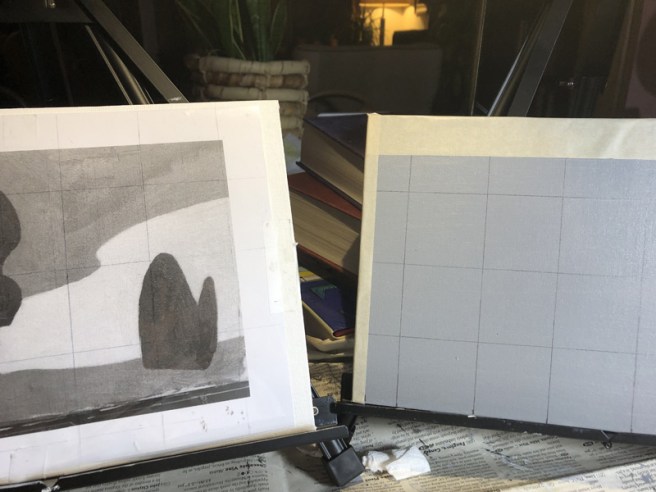
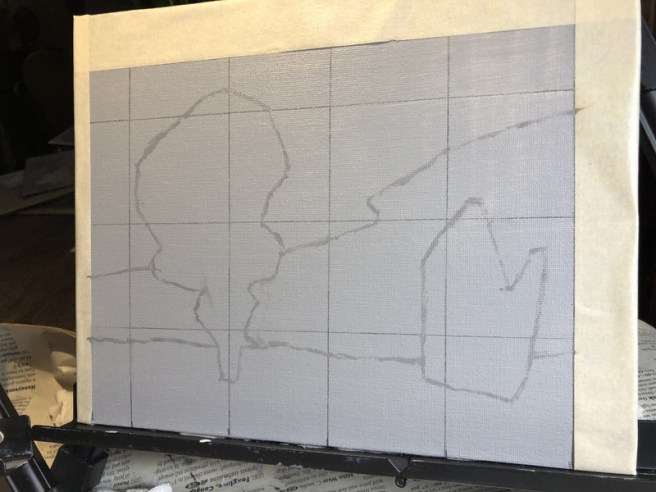
When we came to class our second day, Jim had already laid out the subject matter for our Very First Painting: a gridded mimeograph of… one of the Seven Dwarves talking to an oven mitt…?

Our mission: Create a faithful representation of this early work of Surrealism, using a grid to guide us.
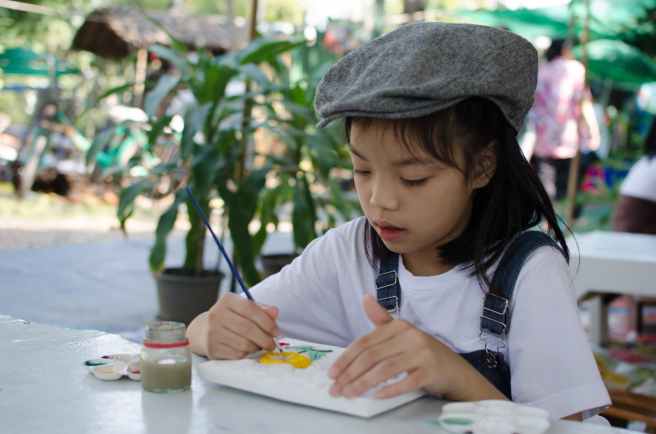
Taking out the toned canvasses we’d created in class the week before, we gridded them up in 2″x2″ squares using T-squares.
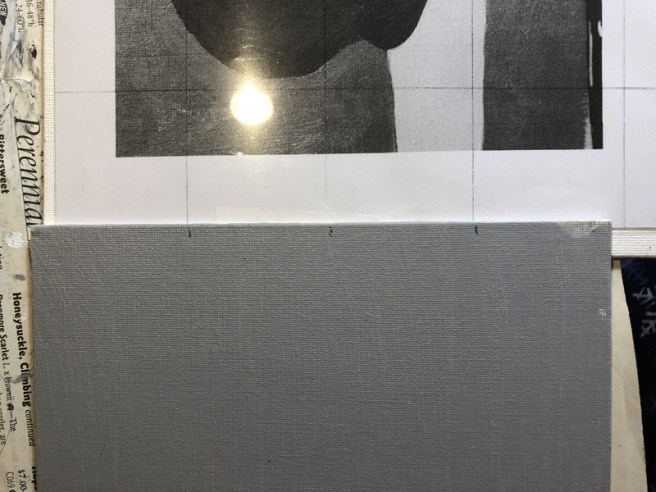
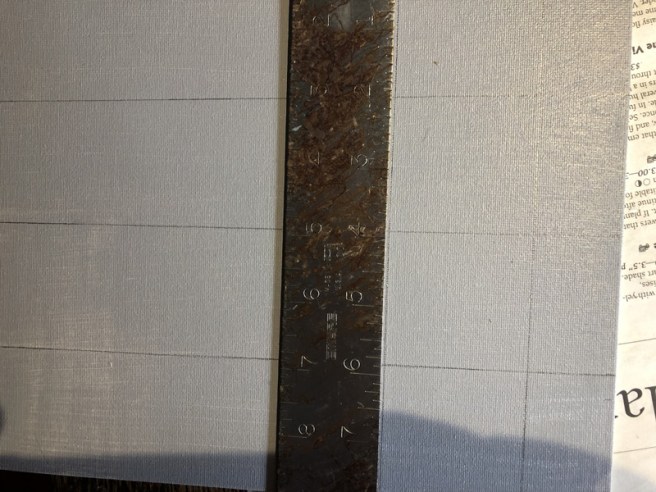
Note: Don’t use a graphite drawing pencil for this step. Use a regular #2. Over many, many years, as your oil paint gets more transparent, graphite will come to the top and be visible. (Of course, I hope to be beyond drawing with grids by the time I’m creating anything worth saving.)

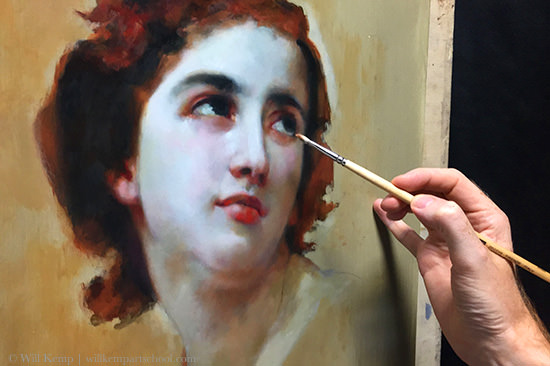
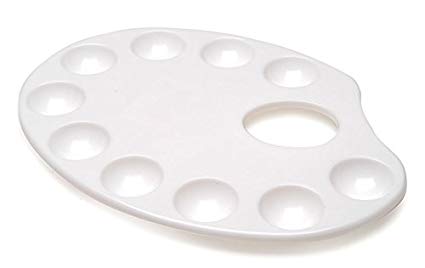
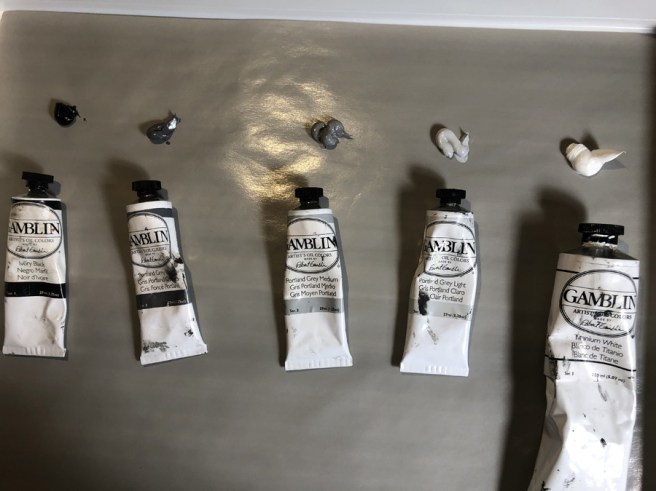
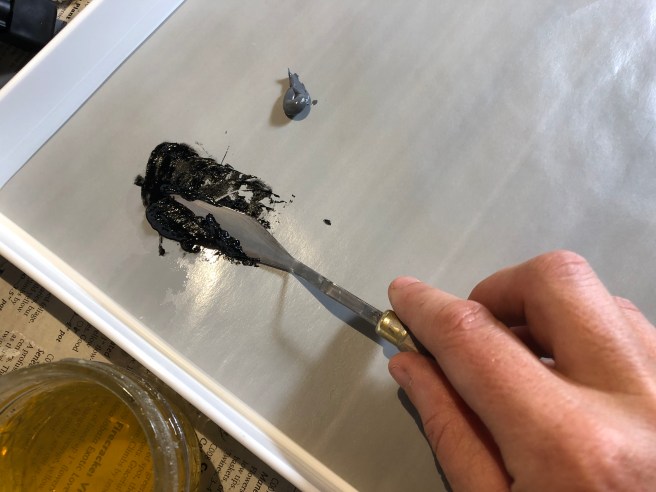
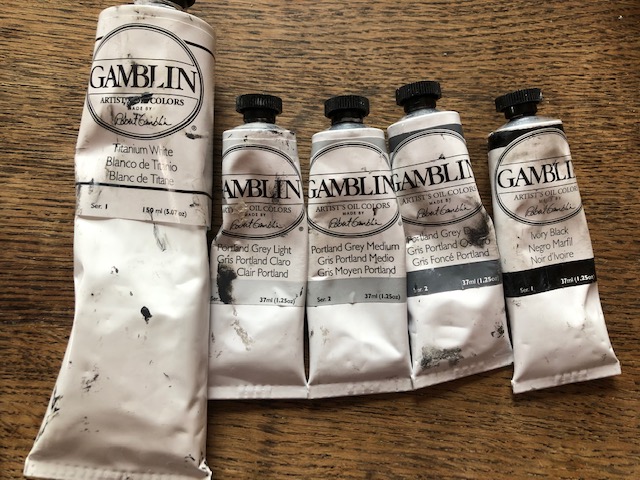
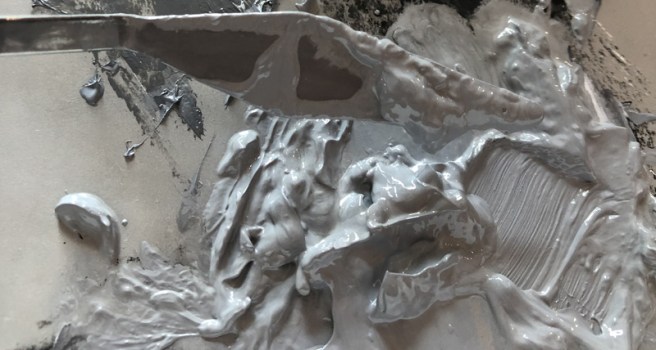
Then, we mixed our palettes, and after a demonstration from Jim, we were ready to draw.
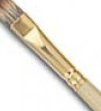
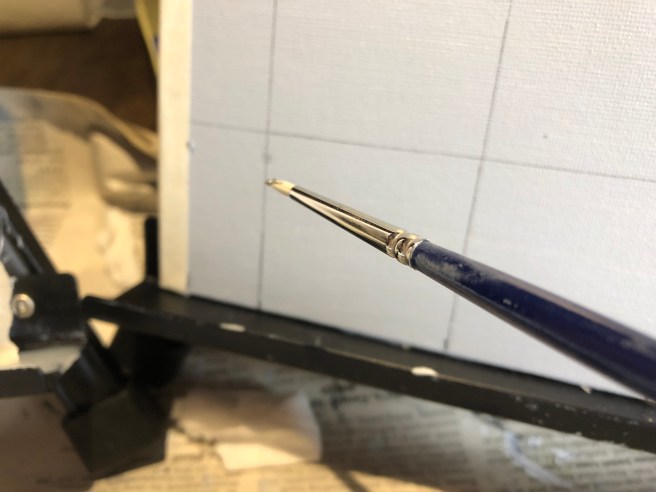
I used my long watercolor brush for this. I started with a shorter brush, but I was told I couldn’t hold it in the proper way for drawing with a brush that short.
Choose a color that’s similar to the color of your toned canvas, but slightly lighter or darker. You want to be able to see it, but it shouldn’t stand out.
We started with just two dots. Easy-peasy! (Jim congratulated us on successfully completing our dots. It’s a very positive place!)
Using the grids was very helpful. How close to the top of the square should my line be?
Also, what was the angle of the line I was drawing? For this, we needed to use our brush as an “angle machine.”
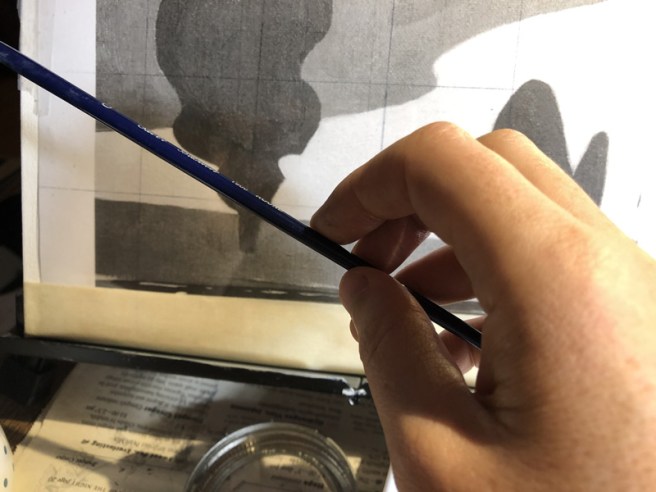
First, I’d mark a dot where I think it should be in order to get the correct angle. Then, I’d test the angle against the original and steadily move my arm over to my painting to compare. Then I’d adjust the position if necessary.

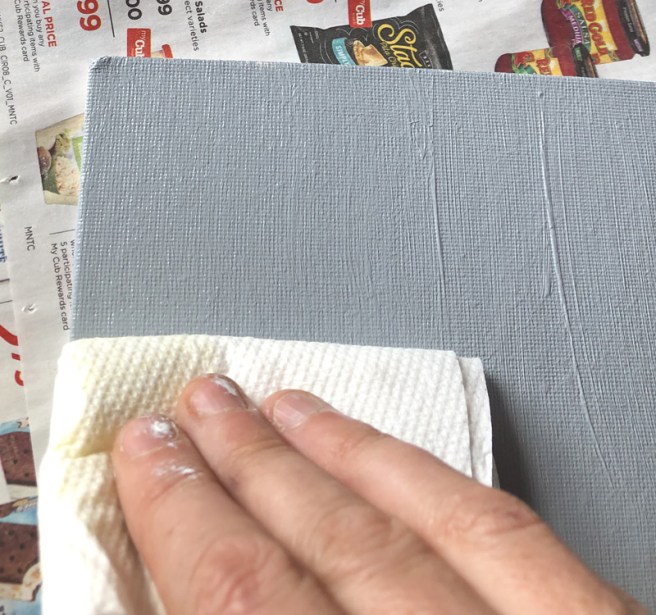
Don’t worry if you’re off with your dots or even your lines. For better or worse, oil paint dries veeerrryy slowly. You can always blot out the offender with a paper towel. Also don’t worry if you’re unsteady — it’s much easier to get a better line when we’re filling everything in with paint. Even Jim’s lines looked shaky when he demonstrated.
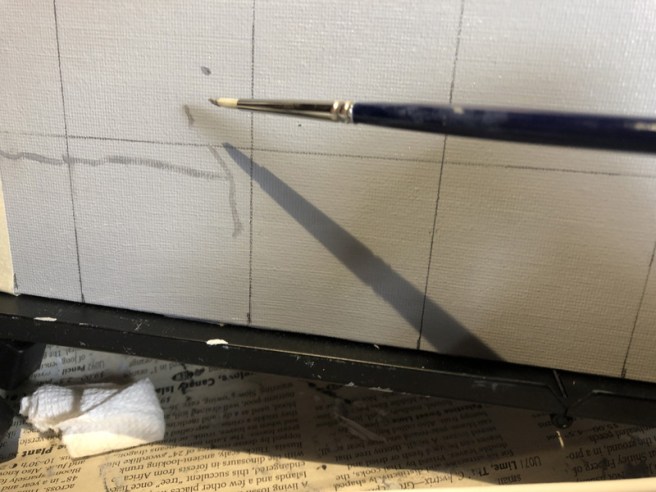
Another thing to keep in mind is that we’re not drawing curves at this point. Everything should be basically straight. The line that I’m creating above is a curve in the original image. It would be very difficult to copy the curvature correctly, so instead we draw straight lines of the correct width for the straighter part of the curve (the isolated short line you see above) and then “connect the dots.” This gives us a better approximation of the curve then if we had tried it freehand. More curvature can be added when filling in the paint.
So why do we use paint for drawing out our composition, rather than pencil?
Hey, I’m only in my second class! But I BELIEVE it has something to do with leading us into the “real” process we’ll be using to create our paintings in the future: underpainting.
And what’s an underpainting, you ask?