Back to school!

During the time when I was kept from the gym by my splinter (now healed), and kept from my studio by Jim’s admonitions on my light situation (now fixed), I was also kept from class by… well, there wasn’t any class. It was spring break (now over).

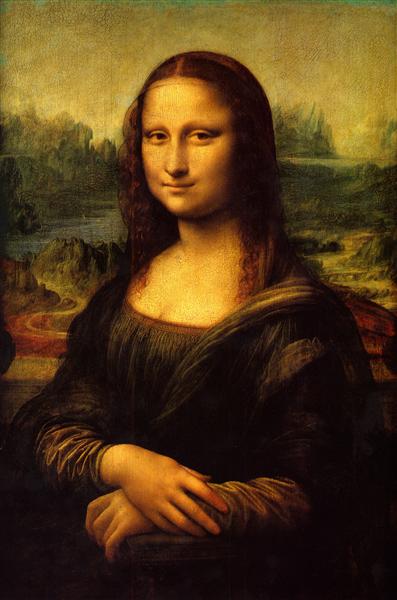
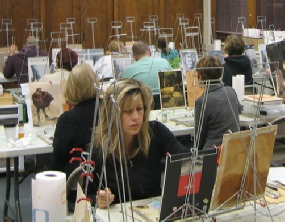
Since the assumption at The Art Academy seems to be that once you’re there, you never leave (there are people there who have been working on the same painting for years, apparently), there was no rushing to finish up the marble horse head paintings we were working on before we left before break; they were there waiting for us when we got in.

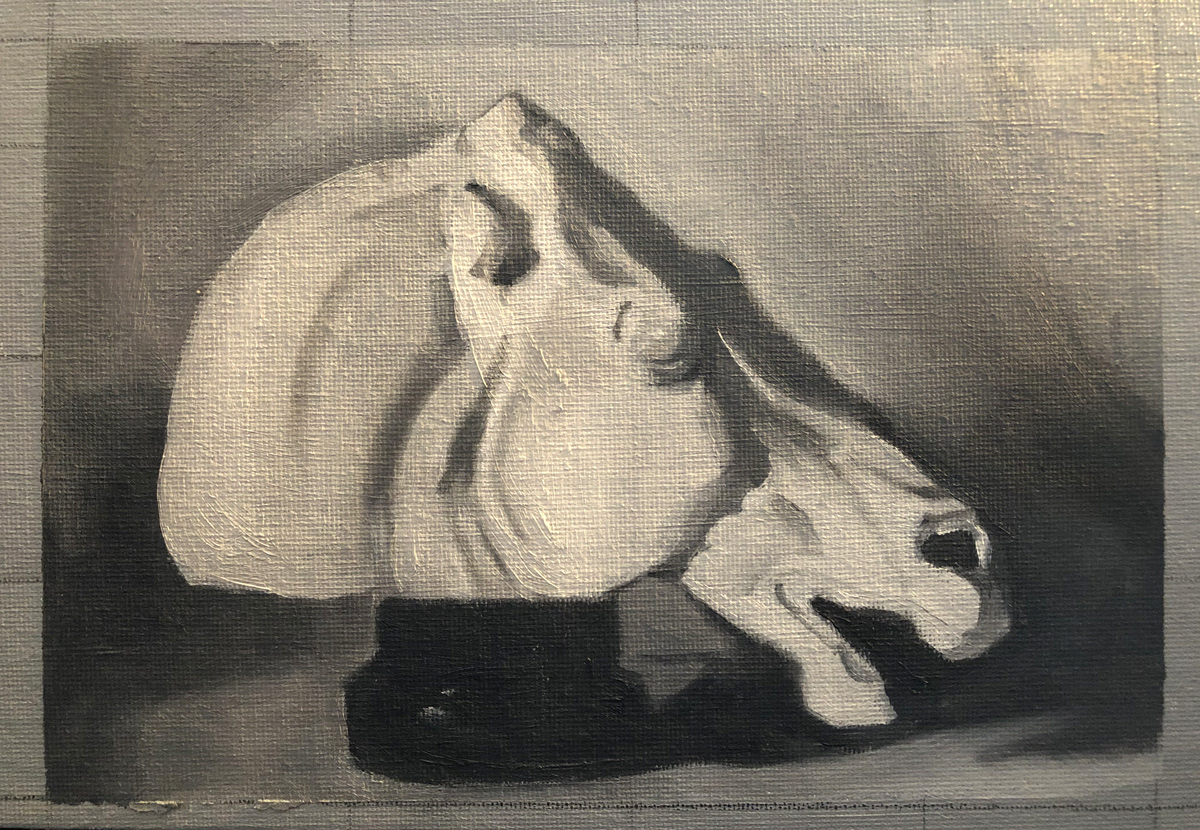
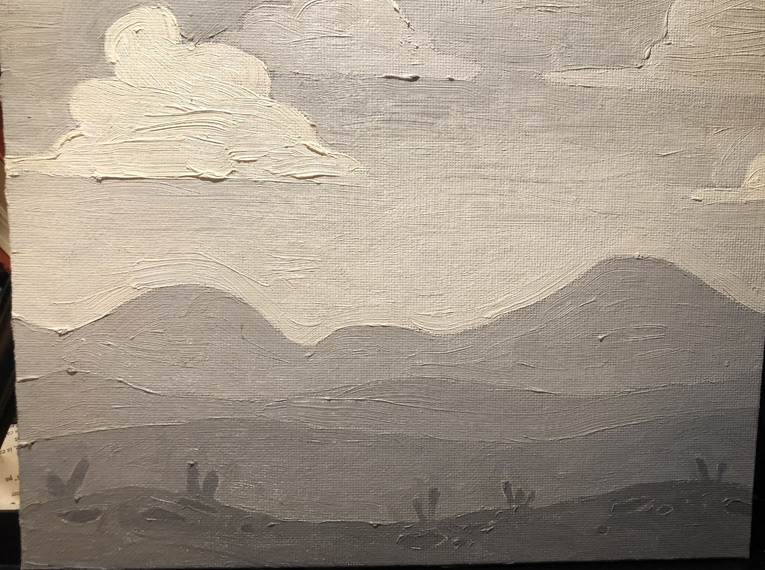
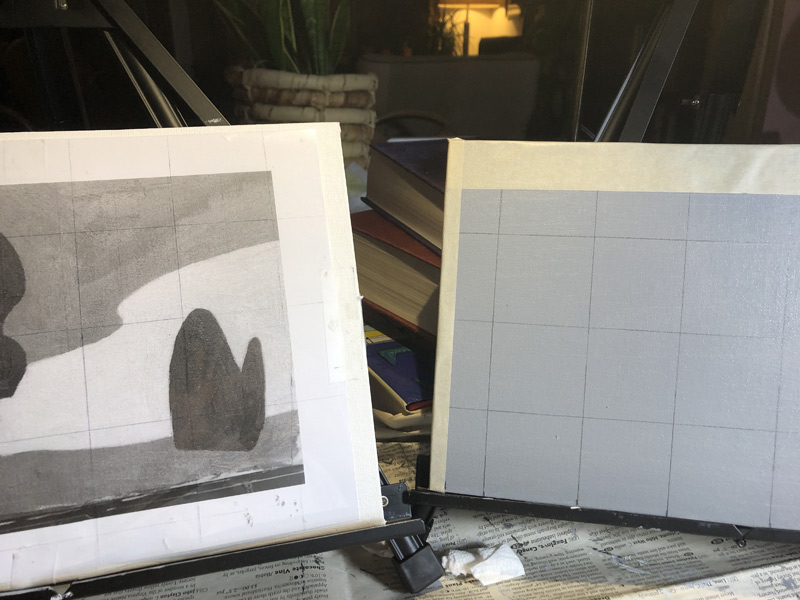
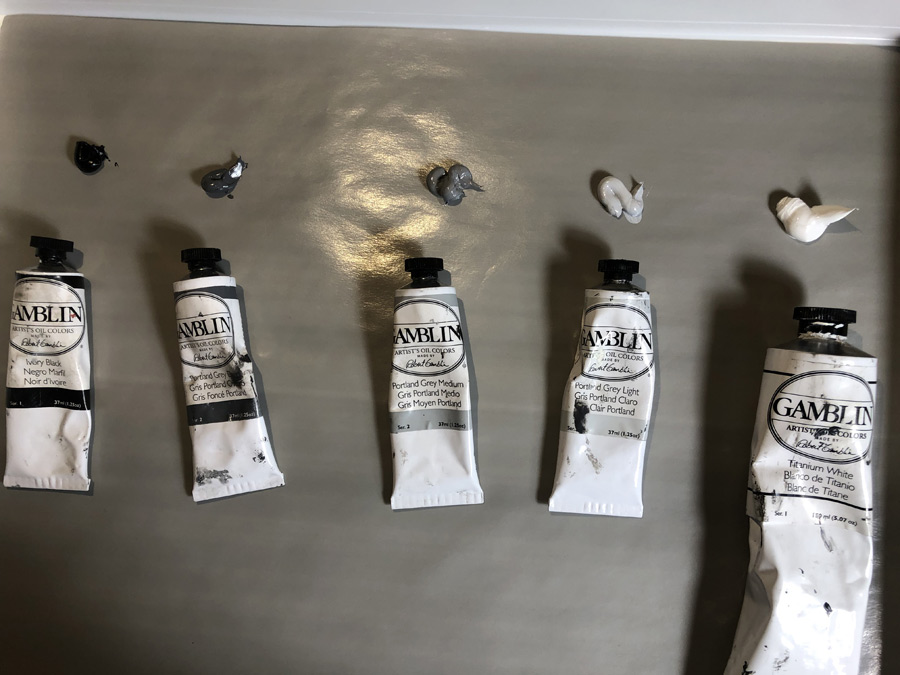
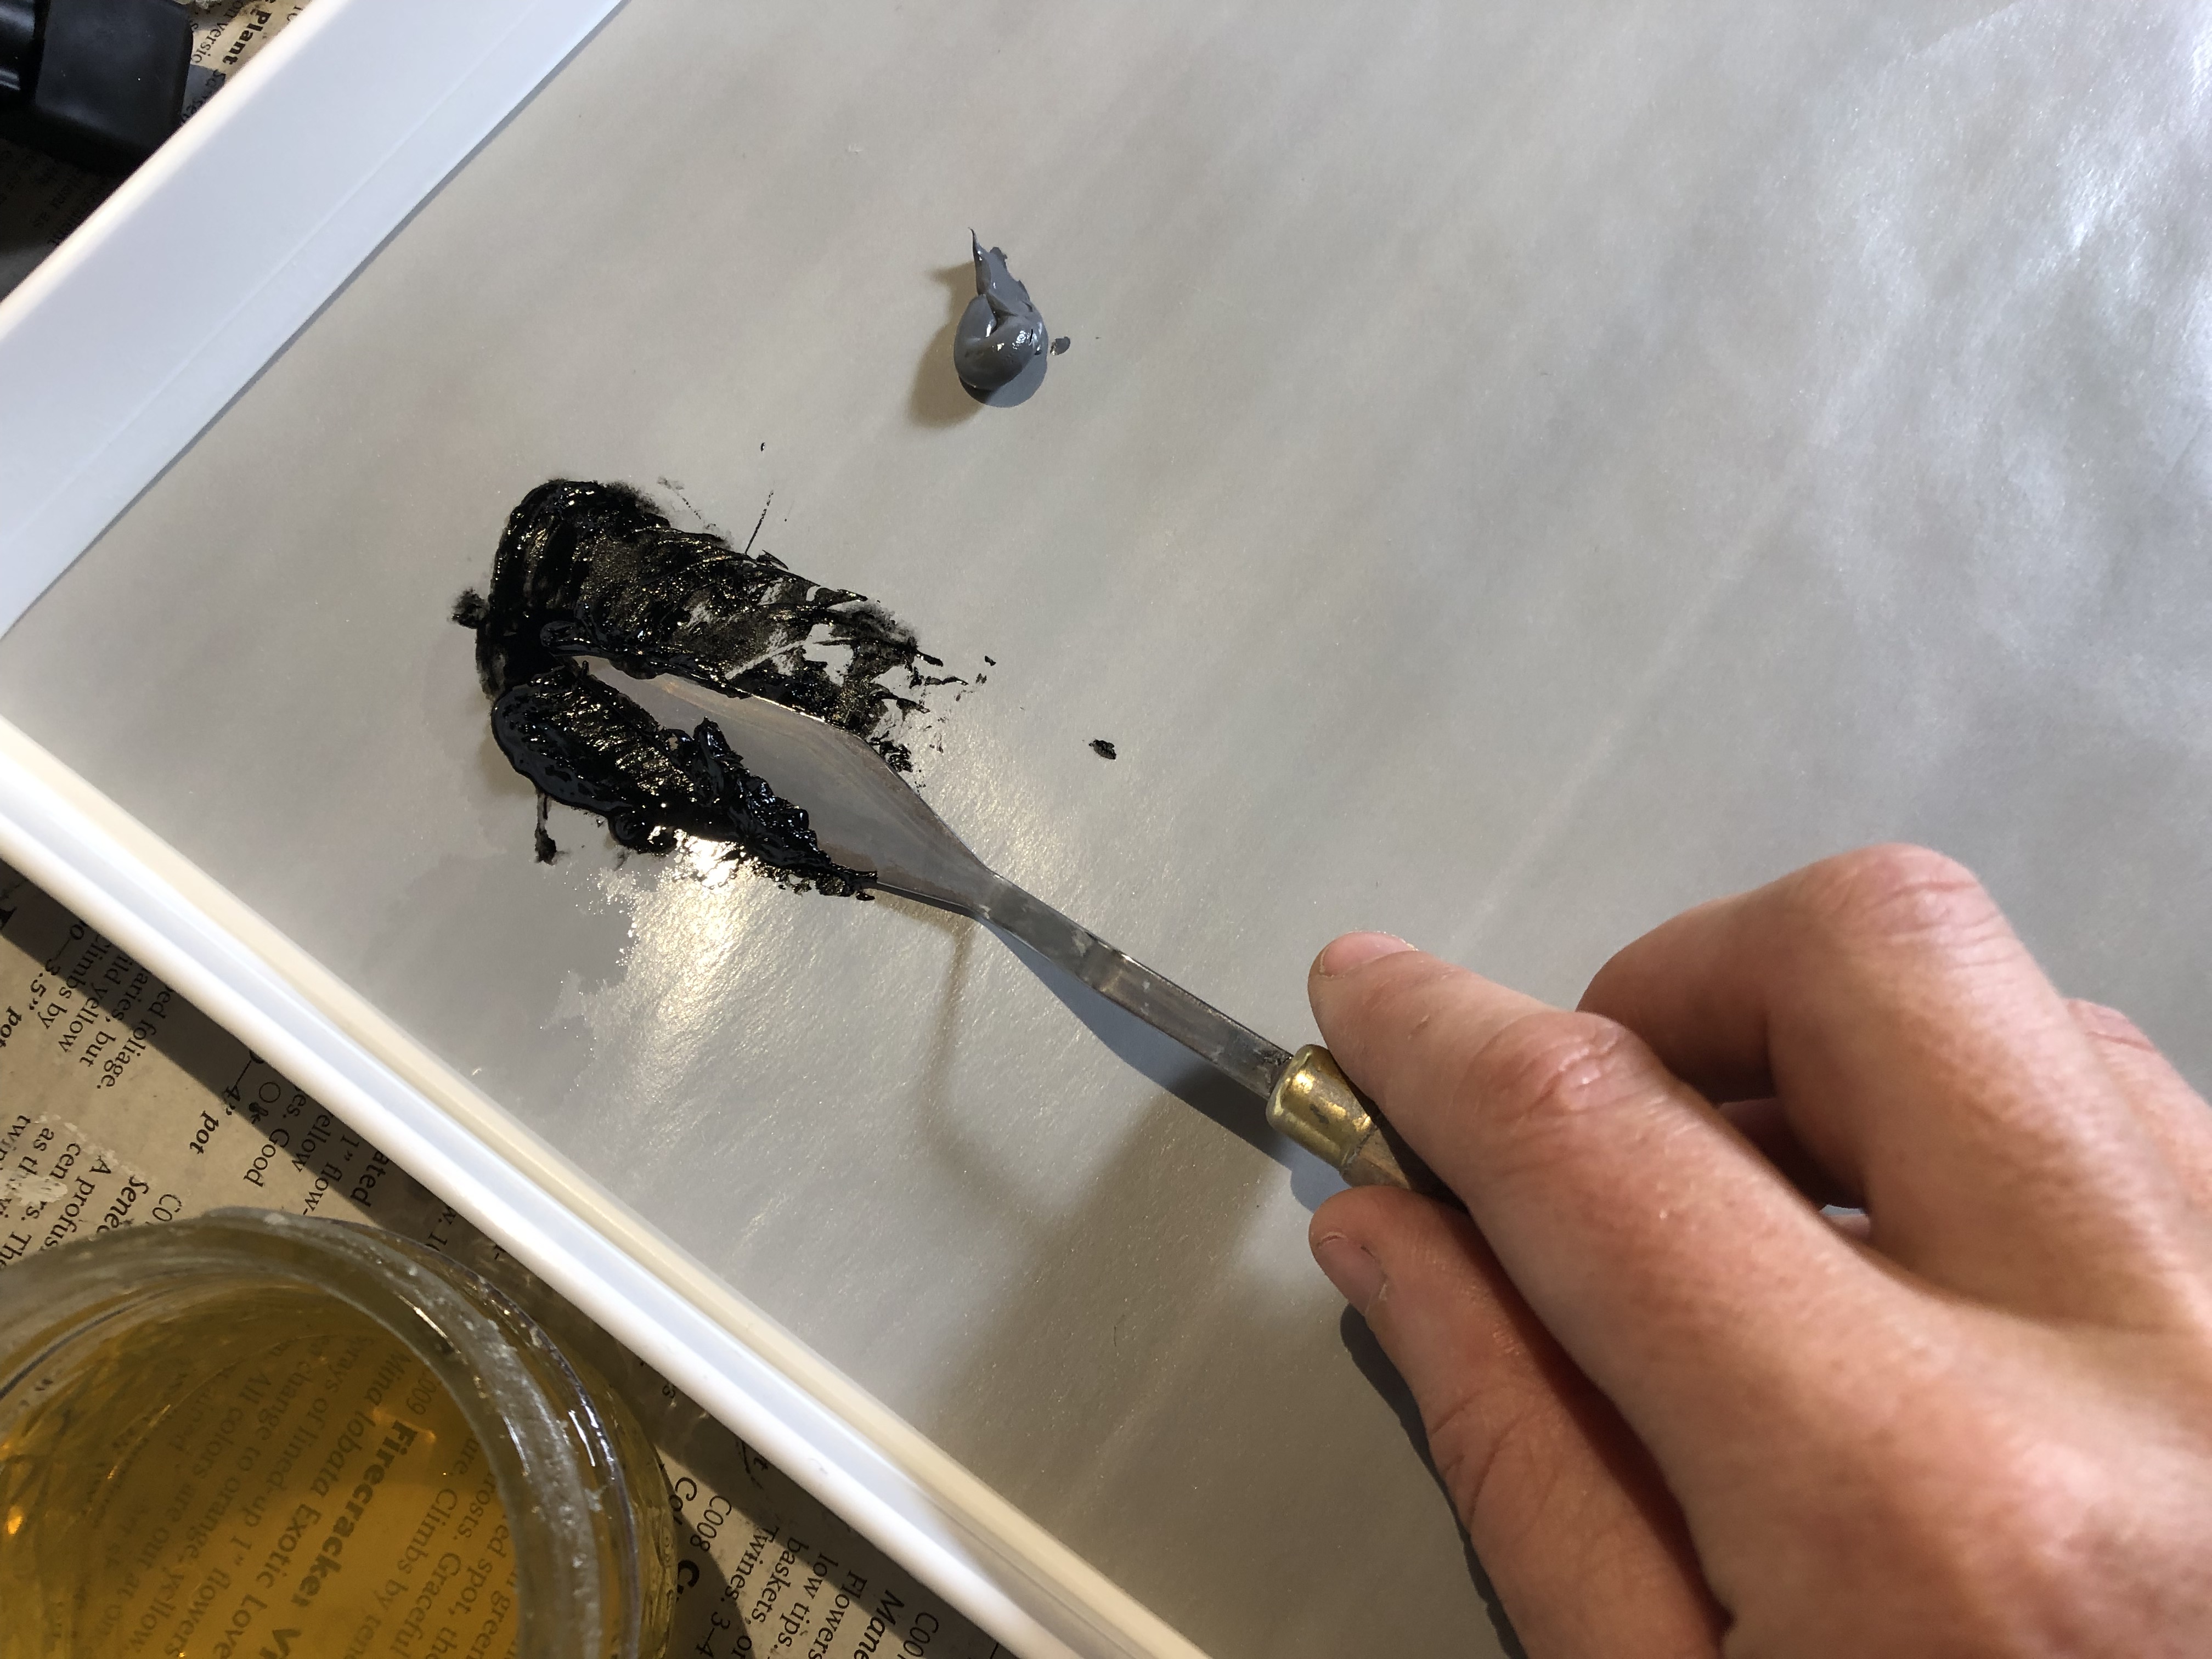
It was weird to go back to grey after my forays into color, but much much easier. I realized that I’ve been a bit lazy when it comes to color mixing at home — often I just mix something I think is in the ballpark and then go back and tweak it after the fact (that’s the beauty of oil painting — it’s incredibly forgiving). So I have been asking myself whether painting with color on my own is even a good idea — am I just teaching myself bad habits? I continue with it, though, because it’s fun, and ultimately, even if truly imperfect, I like the results much better — who wants to keep a grey painting? The last thing I want is to start feeling bored and uninspired — I figure, anything that keeps me painting on a regular basis has got to be for the best.

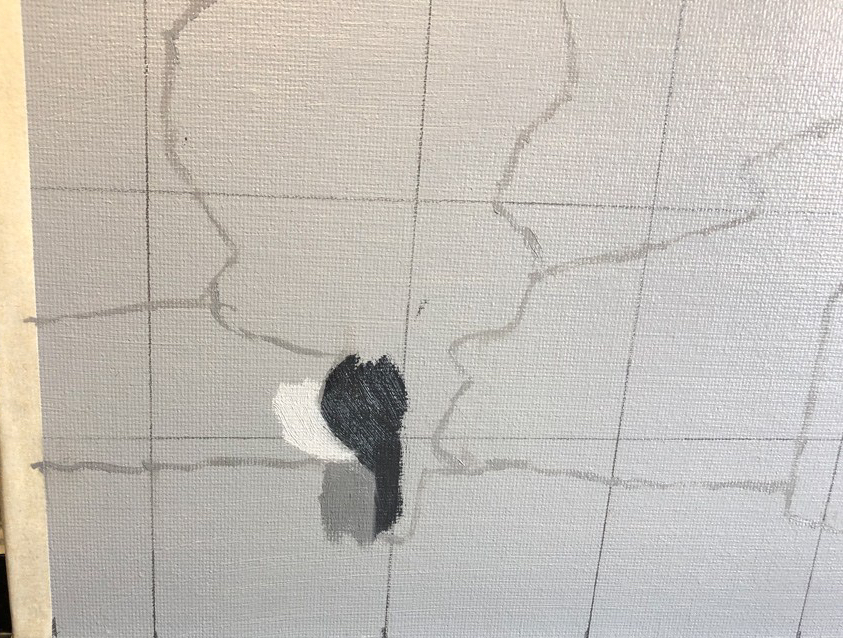
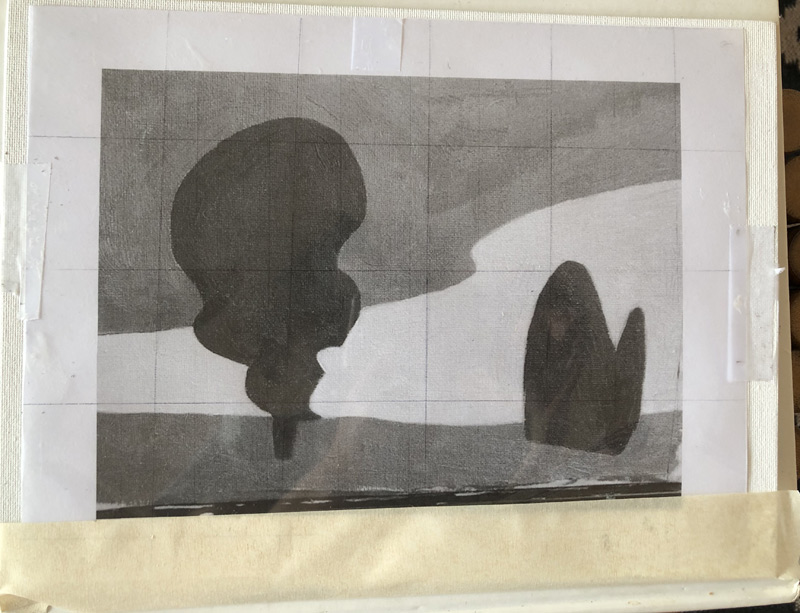
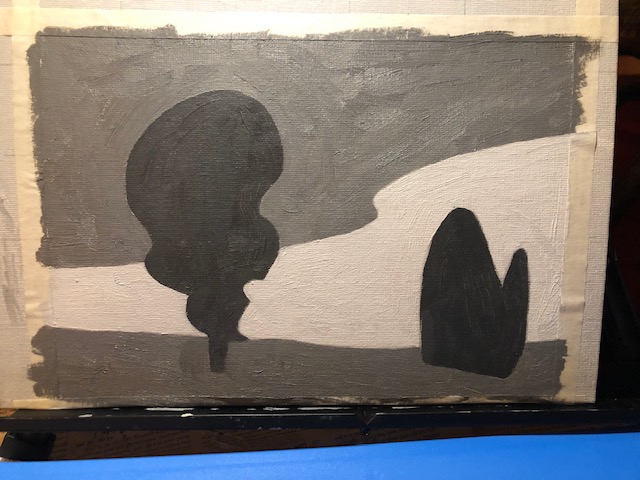
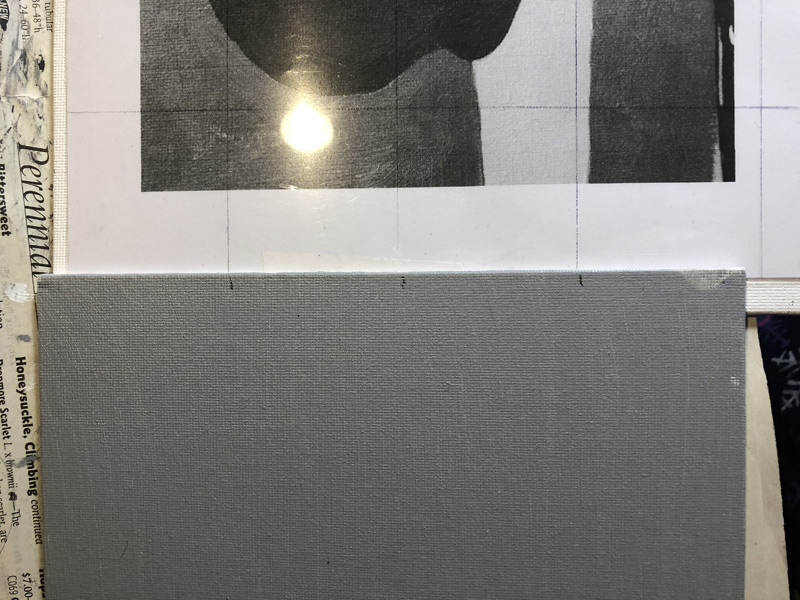
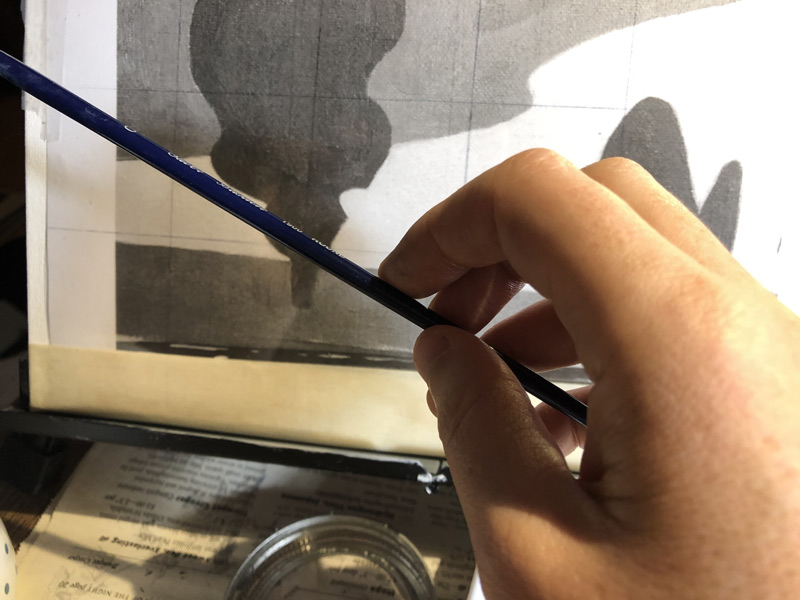
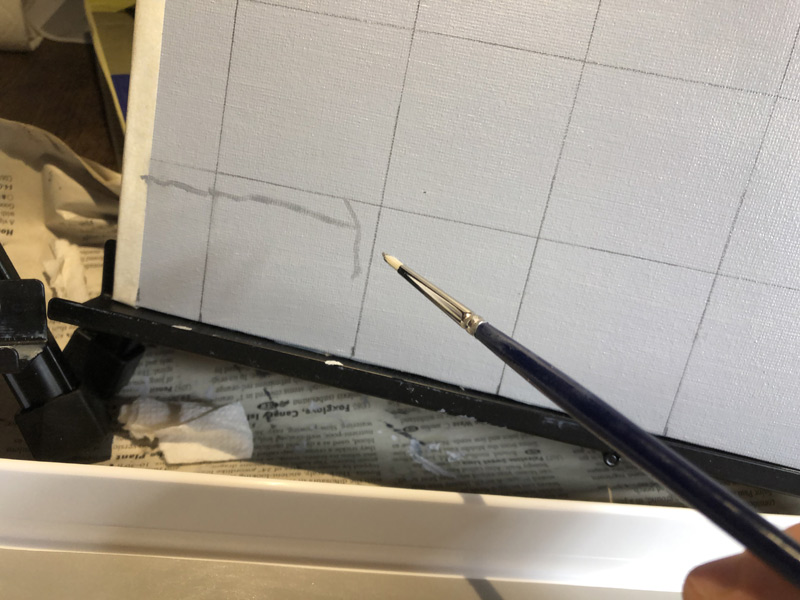
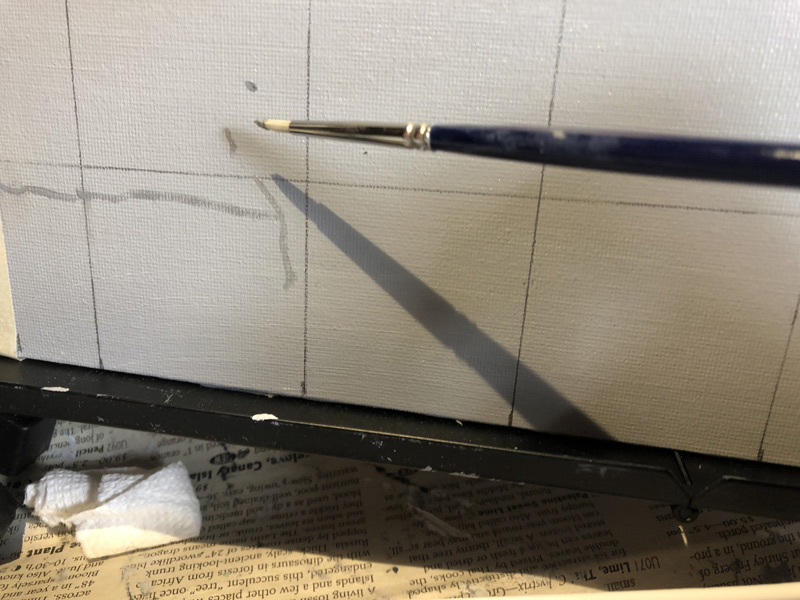
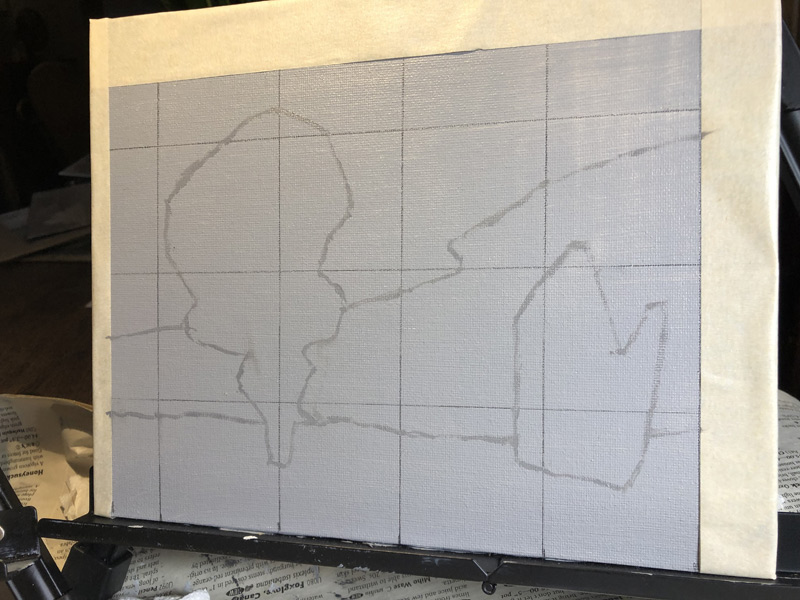
For this painting, we did what Jim called a “lay in”: We spent a couple of sessions painting the horse in a simplified form — blocking in the outline, background and some of the shading — and then our reference images were switched for others that had a lot more detail and we spent a couple more sessions painting those as well. The biggest issue I found was that in between session one or two of the detail work, I was given a different reference image (a common issue — I think they’re just handed out randomly in each class, and they’re all a bit different) and all the details were in different places than they were when I started them. This threw me for a loop, but Jim insisted that it really didn’t matter — ultimately, the exercise was just to practice recognizing and reproducing subtle values, as well as the process of first blocking in a simpler shape and then coming back to it for detail.

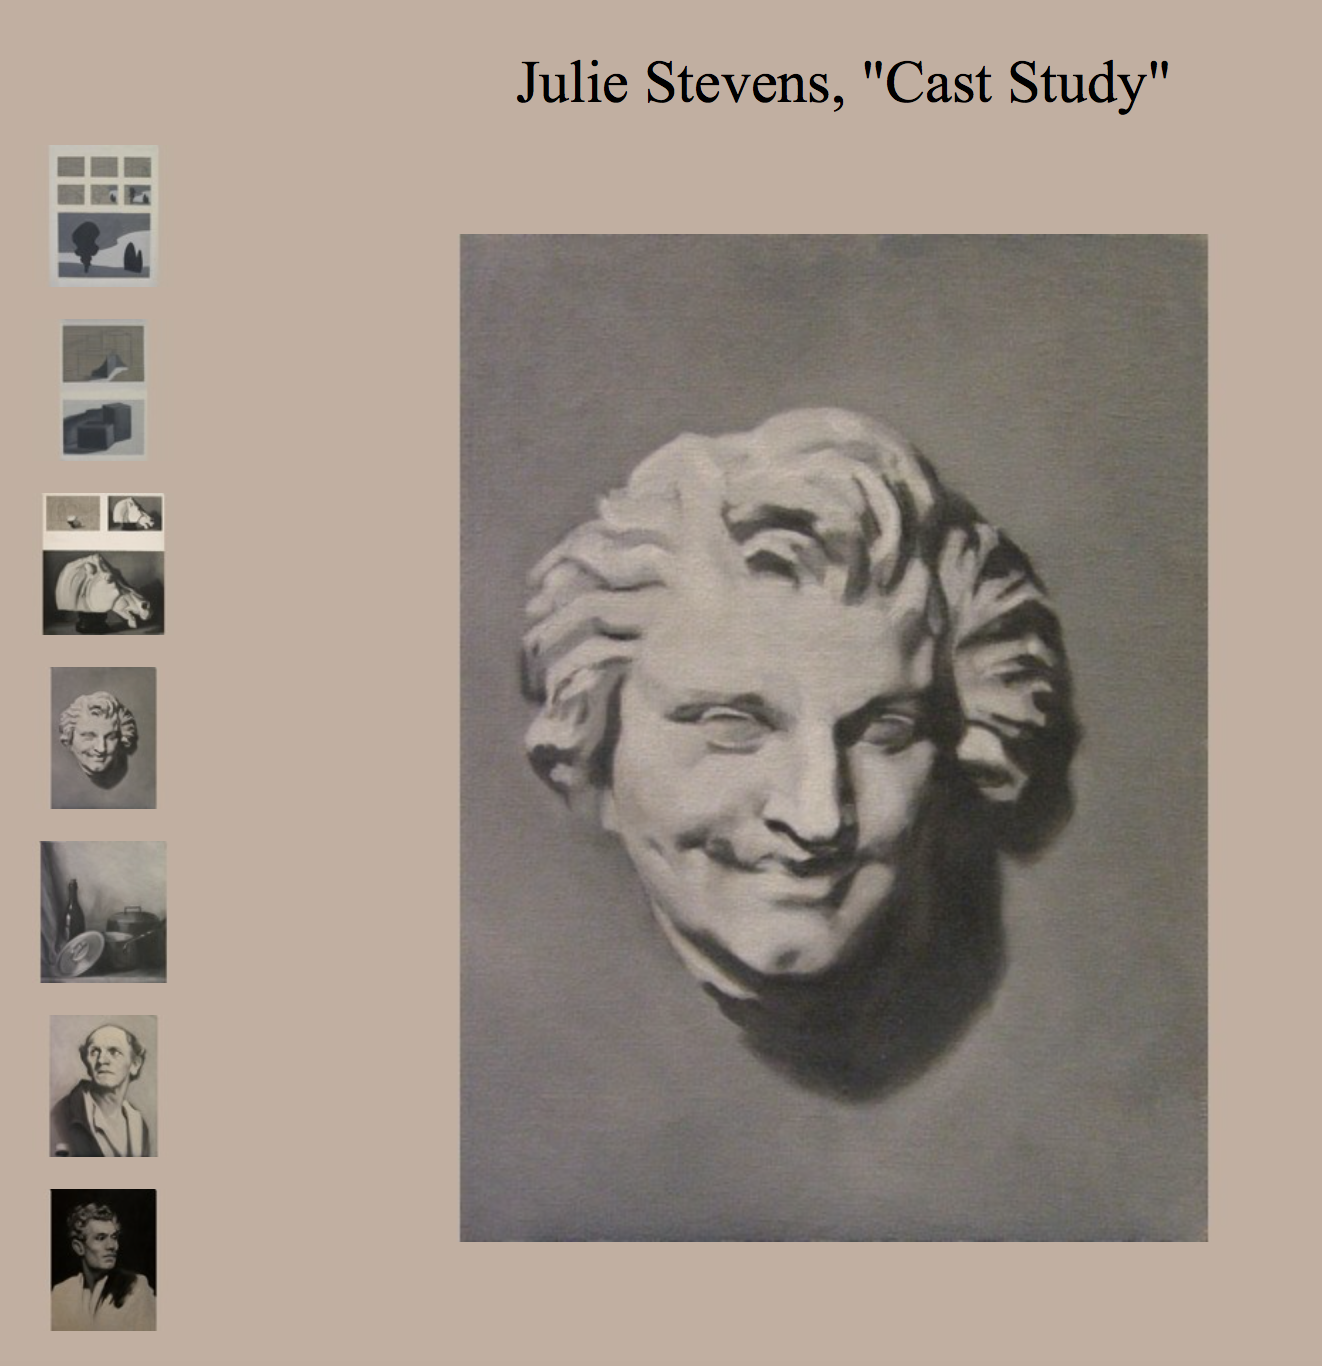
To me this felt like a big leap ahead from the box paintings we did for our last project, but completely manageable. Of course, I’ve obviously been painting on my own, but even if I hadn’t it would’ve still felt like the logical next step after shading and blurring. My nerdy self is still very excited by just how systematic this program seems to be. Looking forward to the next project!

Why do we paint like we do?

In the few weeks I’ve been painting, I’ve realized how little I know about even its most basic tenets. I didn’t know — and now do — how to tone a canvas, how to clean and preserve my brushes, even how to hold a paintbrush. Now I was learning what I thought I knew as a four-year-old: how to put down paint.

After completing our drawings of Dopey and the Oven Mitt, it was time to fill them in. Prior to my rogue gun-jumping first painting, I would’ve thought that this process was easy-peasy — just like Paint by Numbers, right? Not, apparently, so fast.

As I’m learning, one of the keys to painting accurately is separating what you see from what you think you know. You think you know that the ocean is blue; if you don’t consciously work to erase that preconception, you’ll ignore the evidence before you and choose colors much less varied and interesting than what nature has presented. Likewise, you think your fingers are long and tapered, but from many angles they’re foreshortened and squat: Paint them as you think they are, and you’ll look like a cartoon.

It’s difficult work, erasing these preconceived notions. To do it, we need to rely on tricks that divorce our lines — which have no particular meaning — from the objects we’re painting, which are filled with it.

This process starts with our very first strokes. Rather than simply filling in our shape with paint, like we’ve all been taught to do throughout our lives, we instead paint in patches, silver-dollar-sized regions that might contain two or more different areas of color or value.

IMG_3027

According to Jim, ideally you’d start with your darkest value, then medium, then light.

As I mentioned in my last post, we’re using the “fat over lean” process of painting — creating our paintings by laying down thin layers of paint that we then let dry before continuing to add to and revise. In order to keep the ability to revise the edges in future iterations, and to minimize the possibility that our surface will crack, we want to avoid the ridges that might come from having excess paint on our brushes when we come up to an edge. To do this we first touch down our brush well away from an edge and then paint toward it. Only when the paint has significantly thinned do we then paint along the edge.

Another way to make sure we’re not getting bamboozled by the “object-ness” of what we’re painting is to use a large hand mirror placed against our foreheads and reflecting on our painting and the subject we’re painting from, causing us to see them upside-down and backwards. This helps to break the connection between the shapes and lines that we’ve painted and the object that they represent, so that we can better see flaws in our angles, proportions, and values without the brain jumping in and trying to make our item look more vase-like, or hand-like, or in our case, oven-mitt-like.

So how did this all translate to Dopey and the Oven Mitt?

Remember, here was what I was painting:

withgrid

And here’s the final product:

IMG_0699

Wait — is that a perfect copy? Is she really that good?

No! Psych — they’re the same! I didn’t have access to the original, so I just showed my finished painting instead.

But now, here’s the original:

church_by_river_wm

Still pretty close, right?

083116_AboveTheFireplace_9
Lookin’ good!

My very first painting. Don’t blame the school!

Most of the biggest fights I’ve ever had with my husband came down to the fact that I’m a take-charge, active person, and he’s a passive cow. (He might’ve framed these fights differently. It’s MY blog.) So after so sensitively drawing Dopey and the Oven Mitt, I was anxious to lay in some paint. I had a space above the fireplace ready for it, and I don’t like to wait. (And that’s a GOOD thing.)

Alas, class wasn’t for another week, and my drawing was still locked up in The Art Academy’s thermohygrometer-monitored (I assume) vaults. But now that I had da skillz, I could start over — I could keep moving ahead!

Unfortunately, I wasn’t able to find this particular work in any of my old art history books. Instead, I searched online for something with the same clean lines, and found this:

istock

I knew I might have trouble with the little “iStock by Getty Images,” but the rest looked pretty easy. After all, I already knew how to tone my canvas, hold my paintbrush, prepare my palette, and draw with a grid. Also, I had been through childhood. I figured I got this.

So after preparing my palette and grid and drawing my lines (and holding my paintbrush!), I picked out some greys to use. (I probably would’ve gone straight for color — I don’t like to wait — but we hadn’t bought any). And I painted.

Pretty good, right?

firstpic

I mean, I knew I had some trouble with the little protuberances at the bottom — that I can blame on a bad lighting situation — but my curves looked pretty good, and I even did that cool gradient thing in the sky. We hadn’t even been taught that — extra credit!!

Then I brought it to class to show Jim.

I didn’t want to be one of those little suck-ups who does extra homework and then shows it off to the teacher — I know everyone hates that kid (I was that kid). So I framed it in terms of a question I really did want to know: When would I add the protuberances? Would I actually draw in those little details, or lay them in over the top of the other paint? But really, I wanted him to praise my natural talent. (I’m still a little suck-up at heart.)

He didn’t.

Jim is a very positive person, and I could see on his face that he was struggling mightily to say something kind. “It’s really great that you’re so…enthusiastic,” he managed. “But we’ll be talking more about the right way to put down paint in tonight’s demo.” The right way. Ouch.

The fact that there was a right way, though — even for such a simple painting — was obviously news to me. In my next post, I’ll show you what it was.

Back to Kindergarten! Drawing using a grid

Did you have a book like this when you were a kid?

plants-and-zombies
I like his other book better: “How to Draw Blenders and Policemen”

If you’re anything like me, you’d probably feel pretty silly purchasing a book like this as an adult, subject matter aside. Even for those of us who never learned to draw, we know we really should be beyond making little grids and copying lines into them. Learning to draw using this method is pretty much the equivalent of learning how to paint by using Paint by Numbers.

Right?

Apparently not.

When we came to class our second day, Jim had already laid out the subject matter for our Very First Painting: a gridded mimeograph of… one of the Seven Dwarves talking to an oven mitt…?

image with grid
This will be usefu…oh, wait, I don’t have hands.

Our mission: Create a faithful representation of this early work of Surrealism, using a grid to guide us.

Taking out the toned canvasses we’d created in class the week before, we gridded them up in 2″x2″ squares using T-squares.

laying out a painting grid
Matching up my lines. Forgot to mark the top!

laying out a grid for painting
I’m not a T-square, but I play one in this demo

Note: Don’t use a graphite drawing pencil for this step. Use a regular #2. Over many, many years, as your oil paint gets more transparent, graphite will come to the top and be visible. (Of course, I hope to be beyond drawing with grids by the time I’m creating anything worth saving.)

mona-lisa.jpg!Large
Is there a grid under there?

Then, we mixed our palettes, and after a demonstration from Jim, we were ready to draw.

grid and painting
All ready! I’m right-handed, so my painting goes on the right.

I used my long watercolor brush for this. I started with a shorter brush, but I was told I couldn’t hold it in the proper way for drawing with a brush that short.

Choose a color that’s similar to the color of your toned canvas, but slightly lighter or darker. You want to be able to see it, but it shouldn’t stand out.

We started with just two dots. Easy-peasy! (Jim congratulated us on successfully completing our dots. It’s a very positive place!)

Using the grids was very helpful. How close to the top of the square should my line be?

canvas with dots
I made dots!!!

Also, what was the angle of the line I was drawing? For this, we needed to use our brush as an “angle machine.”

holding up brush to check angle
Figuring out an angle.

First, I’d mark a dot where I think it should be in order to get the correct angle. Then, I’d test the angle against the original and steadily move my arm over to my painting to compare. Then I’d adjust the position if necessary.

canvas with shaky lines
Now I know why we’re using a kiddie drawing technique. Holding the brush this way gives me the motor skills of a 5-year-old!

Don’t worry if you’re off with your dots or even your lines. For better or worse, oil paint dries veeerrryy slowly. You can always blot out the offender with a paper towel. Also don’t worry if you’re unsteady — it’s much easier to get a better line when we’re filling everything in with paint. Even Jim’s lines looked shaky when he demonstrated.

another canvas with shaky lines

Another thing to keep in mind is that we’re not drawing curves at this point. Everything should be basically straight. The line that I’m creating above is a curve in the original image. It would be very difficult to copy the curvature correctly, so instead we draw straight lines of the correct width for the straighter part of the curve (the isolated short line you see above) and then “connect the dots.” This gives us a better approximation of the curve then if we had tried it freehand. More curvature can be added when filling in the paint.

canvas with finished drawing
The finished product. Get that girl an agent!

So why do we use paint for drawing out our composition, rather than pencil?

Hey, I’m only in my second class! But I BELIEVE it has something to do with leading us into the “real” process we’ll be using to create our paintings in the future: underpainting.

And what’s an underpainting, you ask?

How could I not know this? How to hold a paintbrush

When was the first time you held a paintbrush? For me it was April 27, 1975 — give or take a few years. It’s one of those things no one remembers, because it happens so early and is so ubiquitous throughout our childhoods — how many paintings of bright suns and happy trees must exist in the scrapbooks of grandmas all over the world?

btatn23516tranh-16_22_49_895
I love you, Grandma!

How then did so many of us manage to get through elementary school (not to mention high school and beyond) never learning the proper way to hold a brush? Where were our art teachers? (I’m looking at YOU, Mr. Black.)

On our second day of class, every one of us adult art students choked up on our brush. It was difficult not to — we were attempting to draw with our brushes (more on that in the next post) and placing my hands far away from the tip made my lines wobble like an EKG.

abnormality-in-an-ekg
Clearly my lines need some medical attention.

According to Jim, we’re supposed to hold our brushes well back from the ferrule, and gently, so that someone could easily knock them out of our hands. Like this:

small-portrait-painting-oil-glazing-techniques_edited-1
Ouch!

…Not like this:

pexels-photo-1211793
Geez. Idiot.

The movement, according to Jim, is not in the fingers but in the arm. As an example, he told us about a particular famous artist (this anecdote would be a whole lot better if I could remember who the heck it was) who suffered from severe arthritis. Every morning  he’d have his assistants strap his brush …to his arm.

Weird.

Four weeks into class (just catching up to real time with this blog) I still find this technique pretty awkward, especially when I first sit down. A few minutes into painting, though, it starts to feel more natural, and I do think I’m starting to see an improvement in my lines from week to week.

Hey, at least I don’t have to do it like this:

huang-gofu-painting
It’s not in the toes, it’s in the leg…

From short to joyful – preparing my palette

Used to be, whenever I’d think of an artist, busy in her studio, I’d pictured her as follows. She’d have brushes, probably several. She’d stand at an easel. She’d be wearing a beret (just kidding). And she’d have one of those white plastic palettes with all the little wells to keep her paints nice and clean.

Wait — no?

palette

As I learned in my second class  – no. Though it varies by brand, most oil paint starts out “short,” a nasty word (He was short with me because I came up short in painting) when what we want is for it to be “joyful.” For this, we need medium.

Painting Medium

2 parts Walnut Alkyd Medium
2 parts Gamsol (Gamsol is an Odorless Mineral Solvent — basically turpentine without the stink and braincell killers)

Mix!

It should look like this:

Painting Medium
No, I’m not taking a drug test — that’s my painting medium!

All oil paint has oil in it (it’s true!) — typically linseed oil, from the seed of the Lin (actually, I have no idea what kind of oil linseed is). Gamblin paints, though, don’t have very much, making them stiff (or short) to use straight from the tube. In order to make them flow, and have the glossy, buttery, luscious consistency we’re looking for (what Jim calls “joyful”), we need to add some extra oil and solvent: our medium.

Note: You could use linseed oil instead of walnut oil in your medium — it actually dries faster than walnut oil (a lovely thing when you have to cart paintings back and forth to class) — but it will become more yellow than walnut over time. (And by time I mean — say it with me — 200 years…).

According to Jim, many artists have learned to do what I used to do — dip the brush first into medium, and then into paint (though I seem to recall instead dipping straight into — horrors! — turpentine). The problem with this method is that any yellowing you’ll see over time will be inconsistent, because some of your brushstrokes will have more oil than others. That’s a lot harder to compensate for with lighting. Instead, you’ll need to mash your medium directly into your paint, and for that, those cute little wells just ain’t going to cut it.

In class we use tempered glass as our palette, with a backing of little swatches of all of our greys to remind us what to put where. That’s awesome while I’m there, but being a little, um, short on cash I just hate wasting all of that unused paint, only to have to remix it all again the next time I sit down. Instead, I just bought this Masterson Artist Palette Seal, which will allow me to close up my box of paints until the next session. Handy dandy! You use it with palette paper, so when you’re done with a project you just scoop up the paper and trash it. Nice!

If you’re following this method, and painting without color, you’ll have five paints: Titanium White, Portland Light Grey, Portland Medium Grey, Portland Dark Grey, and Ivory (?) Black.

When you’re ready to paint, squeeze out an inch or so of each in a row from black to white, with a space in the middle of Portland Medium and Portland Dark to create a blend of the two.

paints
Note: Normally for a project you’d use A LOT more paint then this. It’s a real bummer to run out of a mixture you’ve created and have to try to match it. I’m just cheap and didn’t want to waste it for a demo.

Dip the back of your brush into your painting medium, and drip about 4 drops onto each blob of paint (the amount of paint in my photo would probably just take a drop per pile!). Taking your palette knife, cut them in and continue to mash up each pile of paint, scraping up regularly to keep your piles small and neat (I’m not there yet with this skill.). You’ll probably find you need more medium — it should be around the consistency of shaving cream (if shaving cream feels joyful. Maybe you get more joy from… sour cream? Me, I like shaving my legs.)

mashingpaint

You’re ready to paint!

In my next post, I’ll talk about holding the brush. Who knew this was something I could do wrong?

The best way to clean your brushes? Hock a loogie

The last time I took a painting class, in my twenties, I hadn’t given much thought to the tools I was using. Everything was disposable to me then: I lived in a rental house, drove a hand-me-down car with a plastic-covered window, left my clothes on the floor and walked all over them. It would’t have occurred to me to thoroughly clean my brushes; I didn’t always remember to brush my own teeth. From what I can recall, I’d just swish those brushes in a jar of turpentine, pat them with a rag and throw them in my tackle box. Boom zoom.

I’m careful now. I like my things. I like my things, and I have a mortgage and a kid in private school, and it’s no fun to buy the same dang thing over and over again because it’s gotten too frustrating to use the one I crapped all over. So when Jim told us he would show us the 27-step method (or thereabouts) of keeping our brushes nice FOR LIFE, I paid attention.

brush
It’s called a “ferrule.” Impress your friends!

In the little washroom off the back, Jim held up a brush muddied with toner.  “You start by wiping with your paper towel from the end of the brush all the way up and over the ferrule,” he said. causing me to once again marvel at how many words our language must contain. “Pull your towel over the bristles and try to get as much paint off as you can.”

He demonstrated. After running the brush under water, he rolled the tip (and belly! Who knew brushes had such detailed anatomy?) in the brush cleaner. Putting a little water into the lid, he then painted inside it with the soapy brush. The paint started lifting, and he wiped off the excess with a paper towel. Then he repeated the process. And again. And again. Again. Again. Again. Again. Again. Again. Again. Again. Again. Again. Again. Again. Again. Again. Again. Again. Again. Again. Again. Again. Again. Again. Again. Again. Again.

(He might still be cleaning it. I left.)

masters
I’ve been cleaning this brush since they designed their packaging…


Then Jim showed us the icky part. Breathing deep from some swampy part of his interior, he spat a glistening wad into the lid and swished it around with his brush. “Spit is excellent for bristles,” he told us. “But what you really want to do is create a little cover for the brush, like this.” He took a small piece of paper towel and ….put it… in his mouth….

Anyway, he wet it. Is it just me, or does that give everyone the nails-on-a-blackboard chills?

Then he rolled the tip of the brush in the towel to create a damp little turban. This will dry stiff and keep the bristles from fraying when not in use.

Finally, he handed the brush and cleaner back to Classmate B.

“Wait, was that your stuff?” I asked. She nodded, still looking at her brush.

I’m not sure I’ll be able to do the paper-towel-mouth thing. Maybe when I buy my $400 sable-hair brush (though that I might take to the spa!). But I like the idea of giving myself a fighting chance of getting this painting thing right and not working against myself with crappy, worn-out materials.

Maybe I’m finally a grown-up!

paintbrush with paper towel cover
Feelin’ pretty in my spit hat

Leonardo who?

art-academy-from-web
Student painters at The Art Academy (from their website)

The Art Academy is located in a dumpy little strip mall on Snelling next to a liquor store — hardly the location to foster rarified beauty. Inside and downstairs, where my class is being held, students sit grouped at big tables, and the deeper you go into the room, the brighter and shinier the supplies and clothes, the more nervous and excited the participants. My class was against the back wall — the kids’ table.

My new teacher, Jim, is the founder of The Art Academy. That first night, I wasn’t sure what to make of him: He has a very dry, bored way of speaking that reminds me of Ben Stein in Ferris Bueller, minus the “anyone? anyone?”‘s. He didn’t seem particularly anxious that night to learn our names, and told us almost immediately that he asks for quiet during class because his eyesight is quite poor and it requires intense concentration for him to critique our fine details. Clearly, we were not there to have fun.

The first part of class was spent filling out a questionnaire meant to evaluate our background and interest in art, while Jim went to help the more advanced students. “I feel judged,” I said to the woman next to me after scanning a few of the questions. “Oh, have you gotten to the question about the last time you took an art class?,” she asked. I had not. I had gotten to the one about the last time I read an artist biography or art magazine; the last time I visited a gallery; the last time I had a conversation about art. Twenty-eight years; twenty-eight years; twenty-eight years. For the question about my three favorite artists, I racked my brain for some of the names I remembered from college. I knew I had done my senior thesis on an artist named Lucian Freud… or was it Lucius? Thirty years ago I think I had liked Ingres… was that someone?  I dimly remembered liking an artist that painted a lot of obese nudes — who was that? And then, for the last one… Leonardo da Vinci. A safe bet. I decided to make my writing very messy in that section.

freud-ingres
Paintings by Lucian Freud (left) and Jean-Auguste-Dominique Ingres. It was Freud!

Over the course of the evening, however, Jim — and the class itself — started to grow on me. First of all, he had a real reverence for DOING THINGS RIGHT — there was nothing half-assed about his instruction. It’s true that his speech about what materials to use to be sure our work would still be sound in 200 years drew some stifled giggles from those of us who couldn’t imagine our audience ever being wider than our own families, but when we’re starting from nothing, didn’t it make sense to start with the right habits, the right technique? And while he was quick to criticize most art professors and programs, he was incredibly positive with us, praising us for our “great questions,” and even our abilities to pat toner onto canvas. Lastly, he gave us this great piece of advice (paraphrased): “We all have busy lives. Some of you work full-time; some have kids. There’s always going to be something that makes you think you don’t have time to paint. That’s why it’s vitally important that you plan your painting time into your week. Can you get away for a couple of hours on a Monday afternoon? Can you wake up before anyone else on a Saturday? If you schedule your painting time in advance, and treat it like a job, a priority, you’re much more likely to stick to it. And the more hours you can practice, the more quickly you’ll advance.” Amen.

Perhaps most importantly though,  all the while he assured us that we will learn, that anyone can, and all the while we saw as seeming proof the beautiful work of the group at the very next table. I’m ready!

My new school!

With my much anticipated Aunt-money set to arrive any week, I set about looking for the proper painting class to take. I’m a big fan of Community Ed, and Saint Paul’s version has no end of inexpensive art classes, but Aunt-money meant I could go big. University of Minnesota? Maybe not that big. Articulture? Nothing offered for months. Instead, I chose The Art Academy on Snelling, because it was close and because it got good reviews on Yelp and Facebook. I liked the philosophy they espoused on their website:

At the Art Academy we always stress practice over talent. We believe that if students put forth their best efforts during each class their abilities will flourish – unlocking a level of artistic potential that goes well beyond their expectations.

exterior

Granted, that wasn’t a high bar — my expectations were pretty low. But the student work they showed on their website was genuinely impressive, and their student-to-teacher ratio impressively low.  Although there was a lot of cross-over between class descriptions, with no obviously suggested order, I decided on “The Oil Study,” because it spoke specifically about giving students the skills to start a painting, which made more sense than the other beginning oil painting class that talked about skills around finishing a painting. Oddly, though, while other class galleries showed student work in richly-colored palettes, Oil Study paintings were exclusively in shades of grey. Would I only be painting in black and white? What gives?

grey-paintings
Liven up, dudes!