Paintings 7 & 8: Getting my ducks in a row

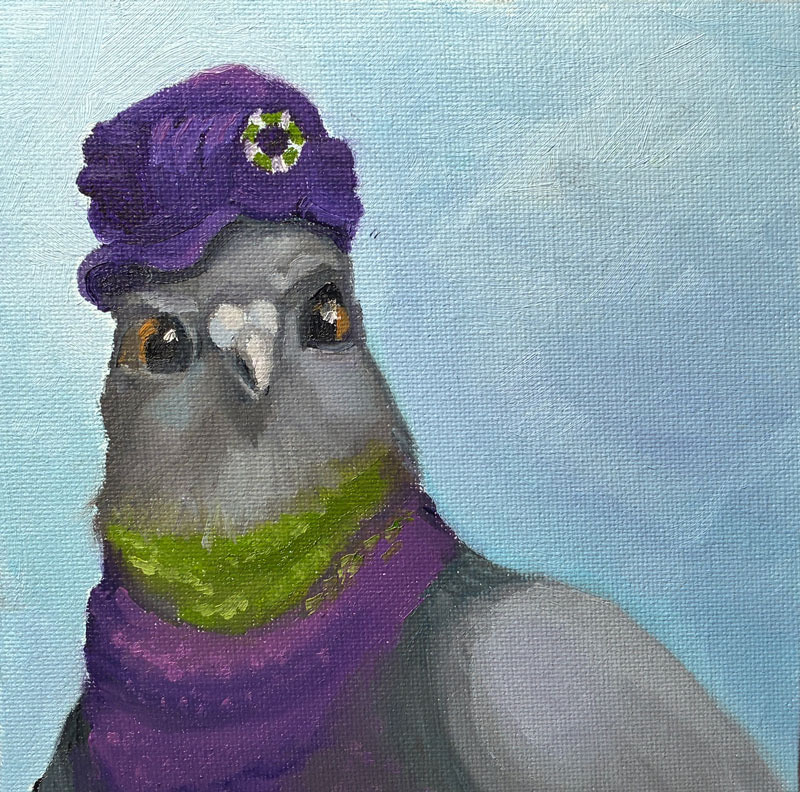
Fresh off the success of my “pigeon with a hat” painting, I thought I’d try something completely different: a duck in a hat! Maybe this will be my niche?

I’d originally anticipated painting a standard “barnyard” duck, but while looking for photos to study I came across this blue-billed marvel called a “ruddy duck.”

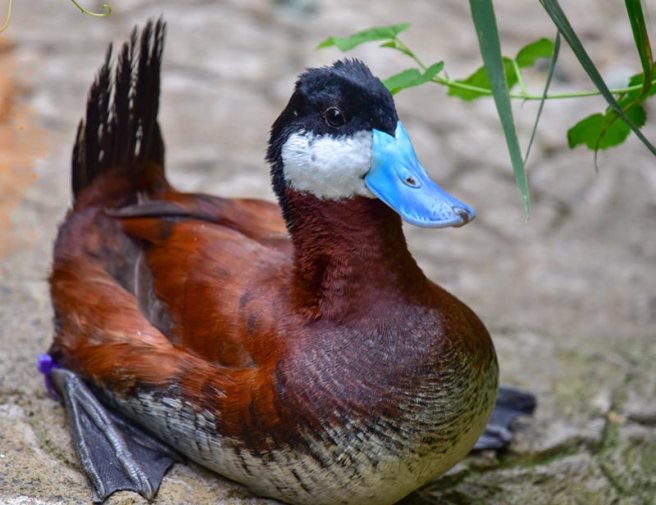
Copyright Sinclair Miller, Maryland Zoo in Baltimore

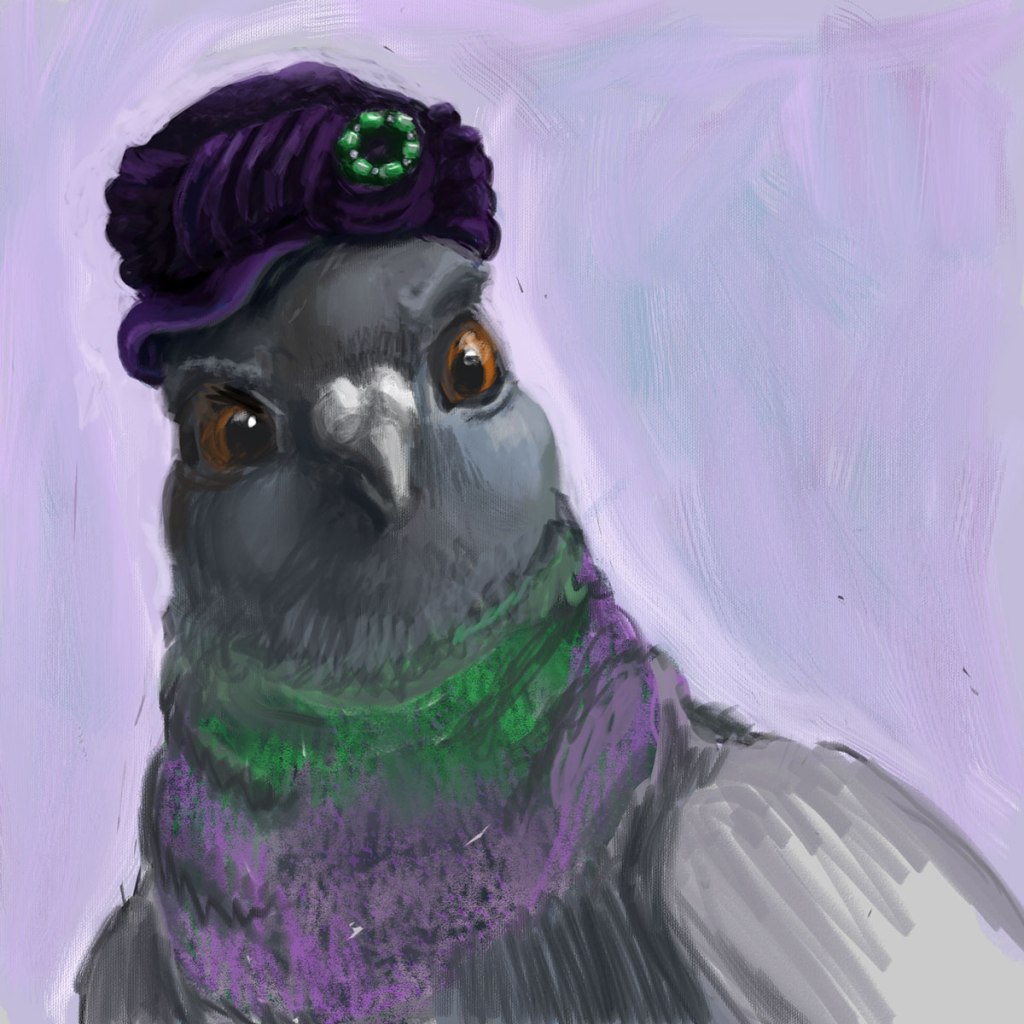
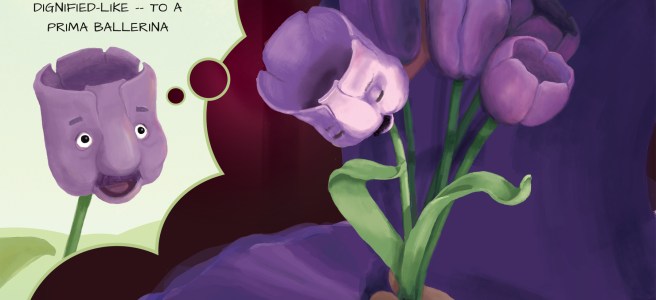
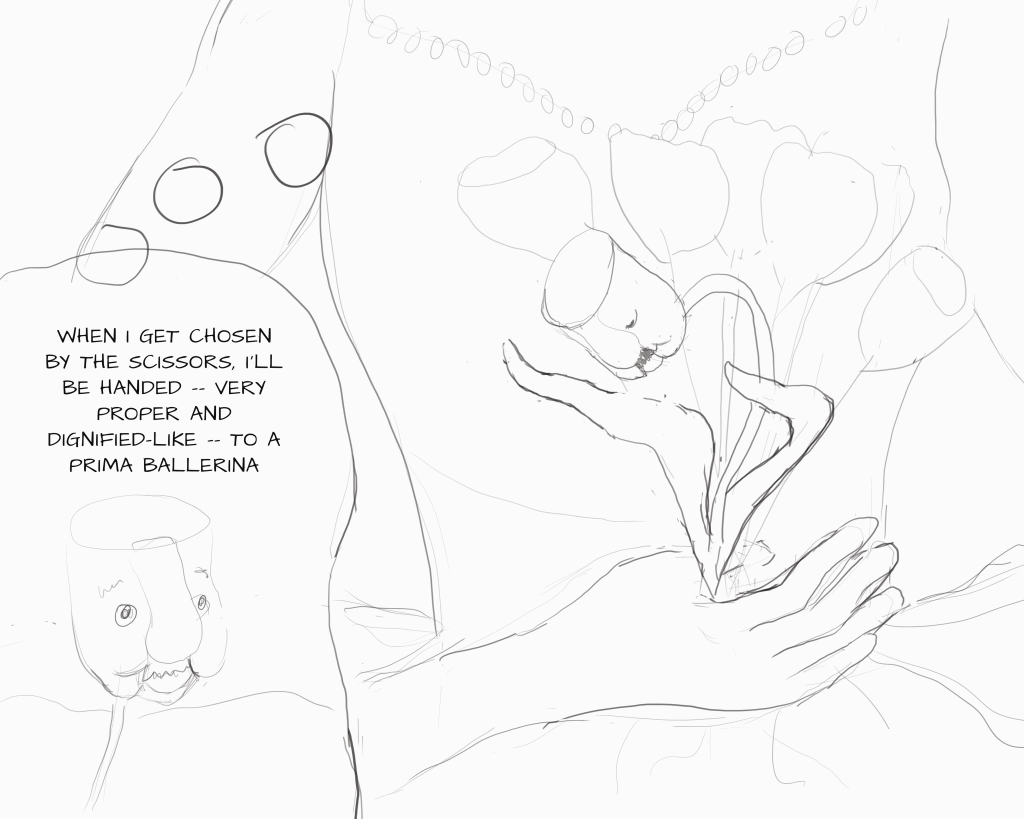
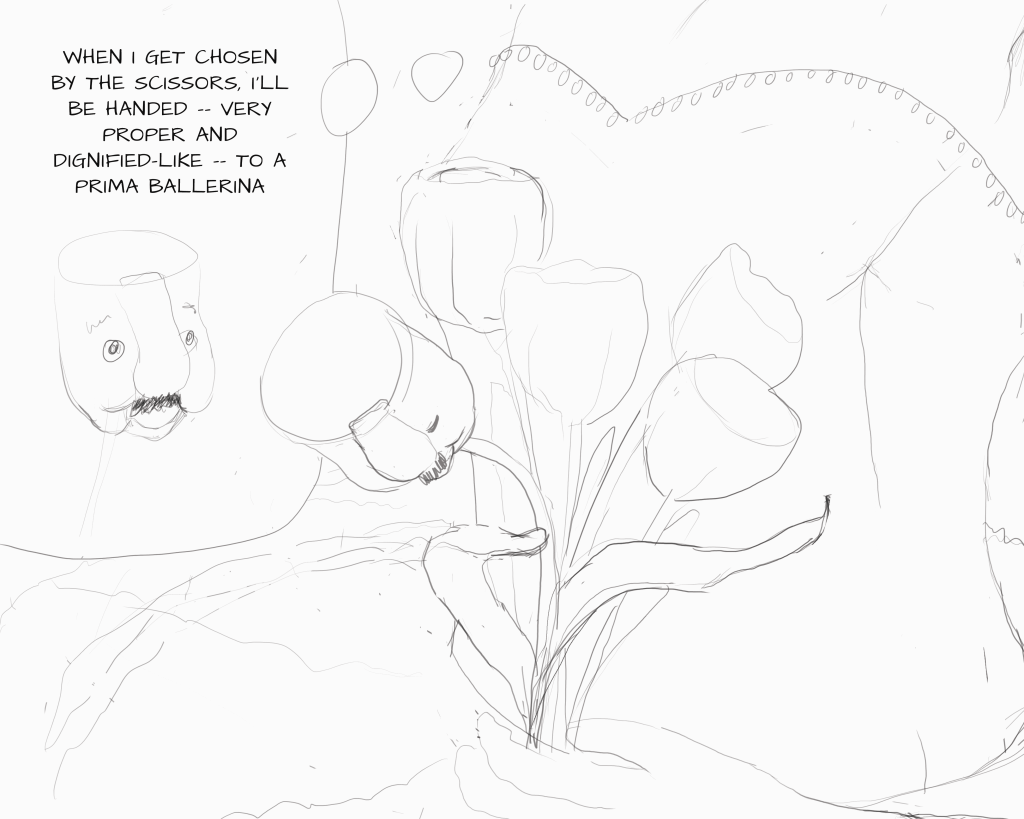
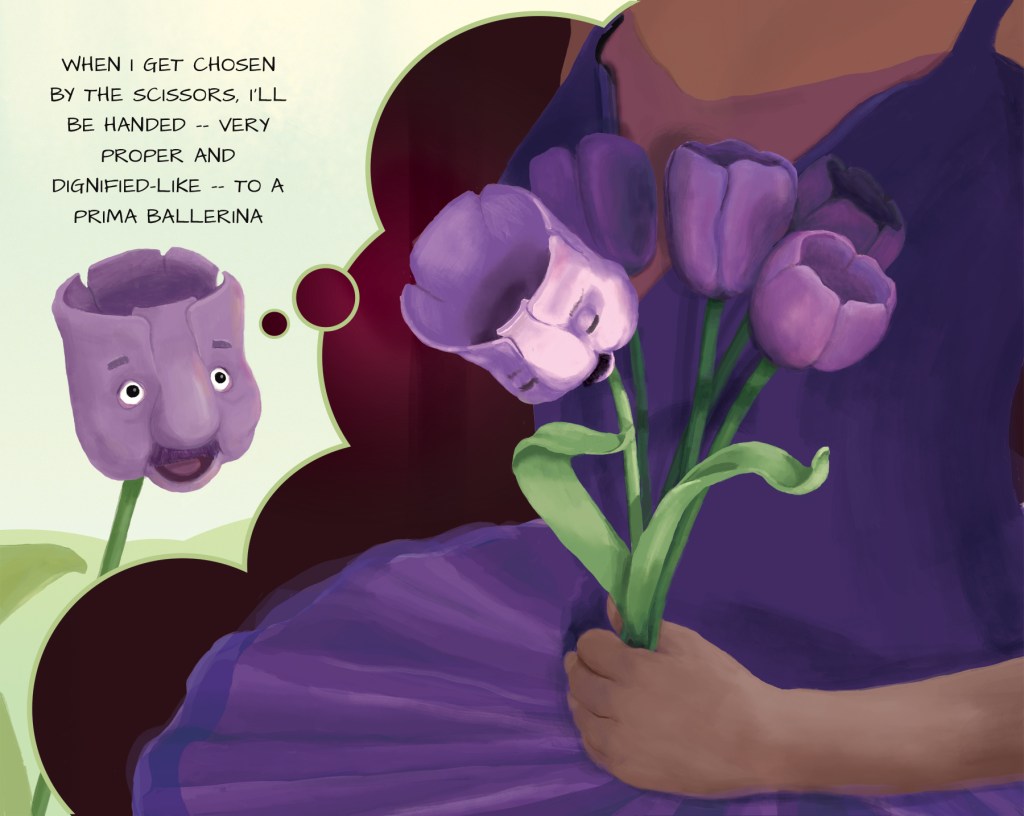
Here’s my original digital:

Good-lookin’ fella!

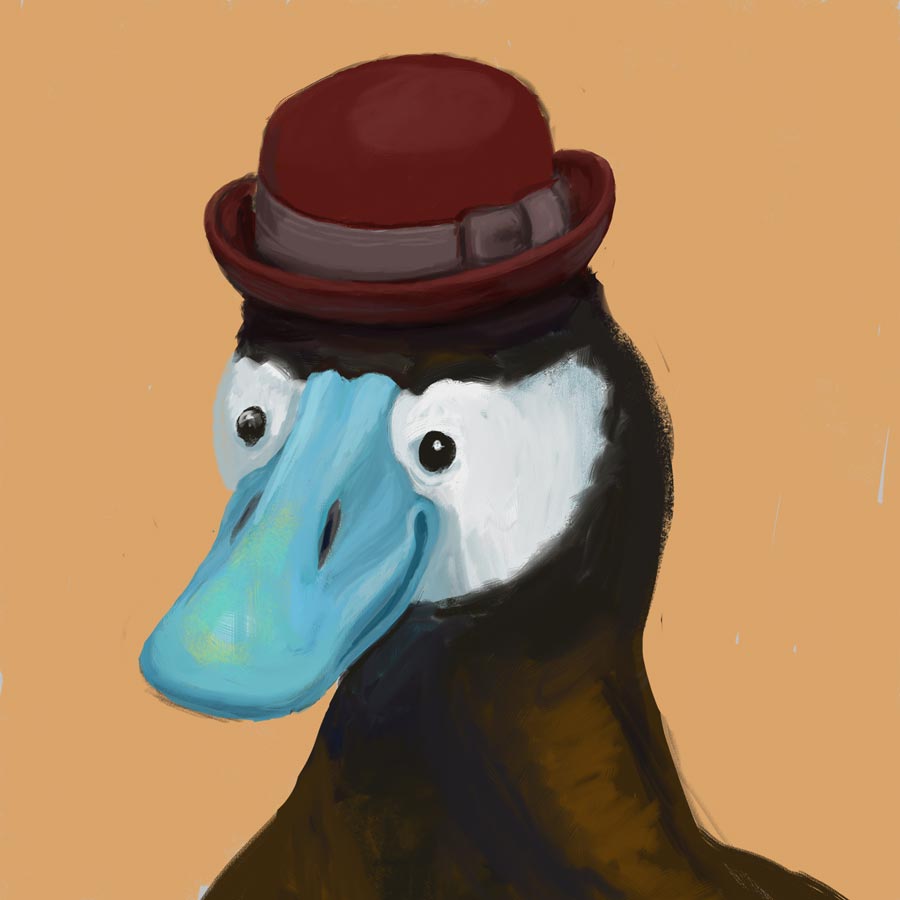
Apparently, my dapper gentleman is also a randy duck – the blue coloration only comes out when he’s hoping to mate (as does, of course, the stylin’ hat).

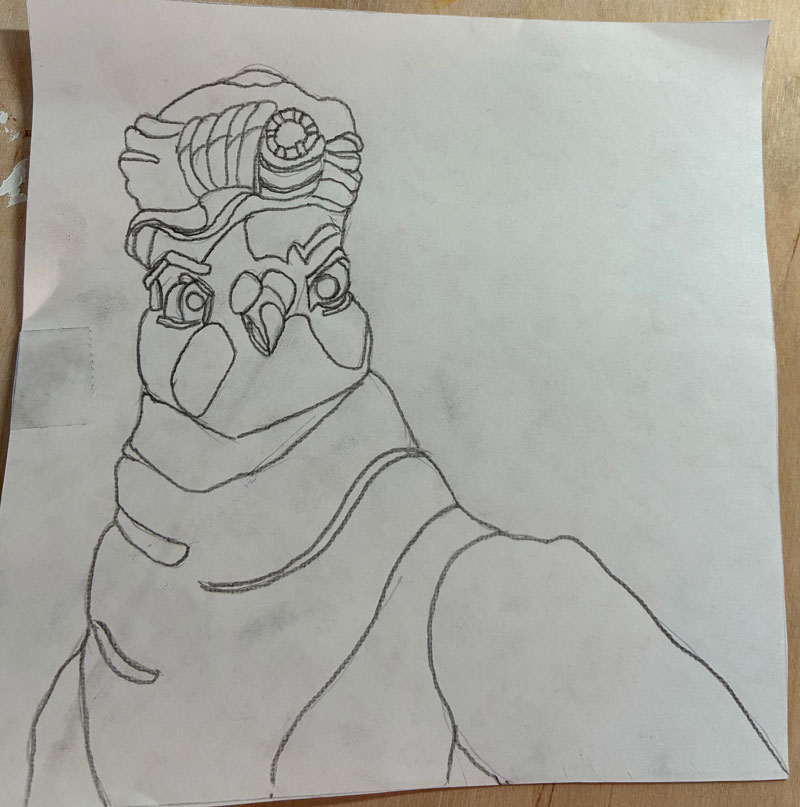
Since my pigeon was way off in her background-to-head ratio, I learned from my mistakes and blew up this feller larger in his frame than I’d originally drawn him. Then, rather than grid or freehand draw him like I did last time, I just printed out a black-and-white version of my digital drawing and used my graphite transfer paper to trace the lines of the black-and-white picture. But once again, I was foiled by my cheapness! Not wanting to waste too much printer ink, I used the “draft” setting, which created an image so washed-out and pixelated that I couldn’t follow the value changes, leading to mass confusion and a first painting that was yes, another “wiper.” 

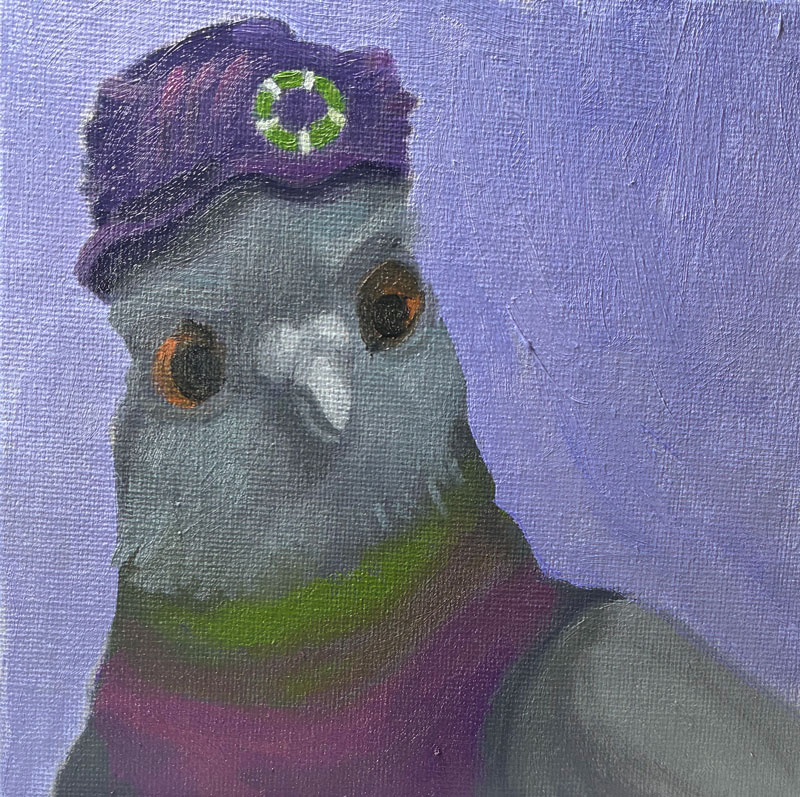
But we Irish-Lithuanians are made of strong stuff, and I set back in to try again. This time, I produced this:

Eek — need to up my photography game!

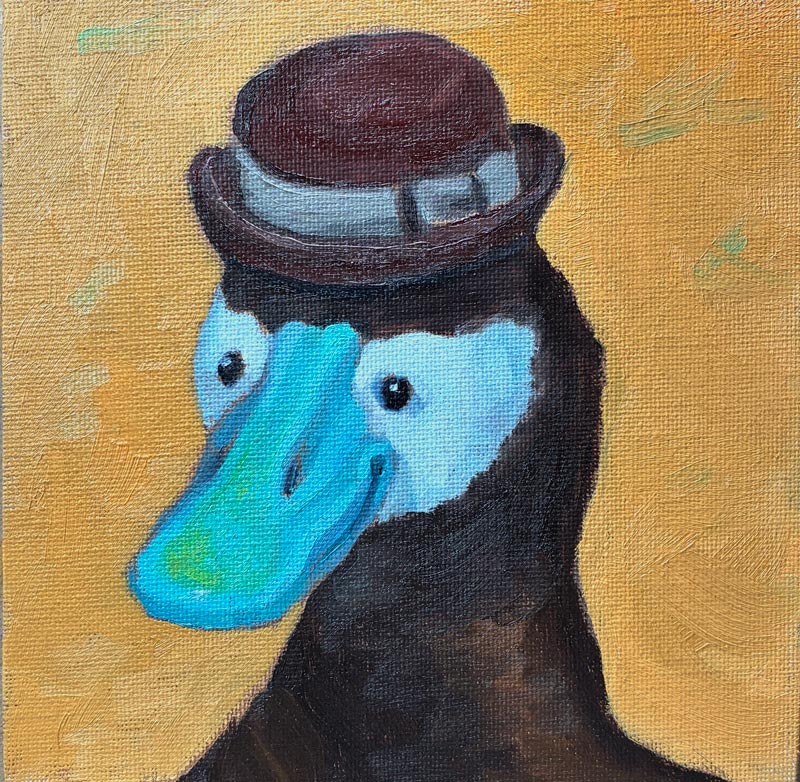
While it’s not terrible, and the beak turned out better than I’d expected in this second version, I made a giant mess of the hat — that little rim was tough! My background color, too, was not ideal: The orange—while a lovely color unto itself—is too saturated and draws attention away from the bill. Furthermore, Gemini had just told me that I should be painting with a 60/30 ratio of Gamsol to Walnut Alkyd, and my 50/50 mixture was too “fat.” So altogether, it seemed worth it to do one more pass, and begin to develop better processes and habits.

So, I went in for try 3, and produced this guy:

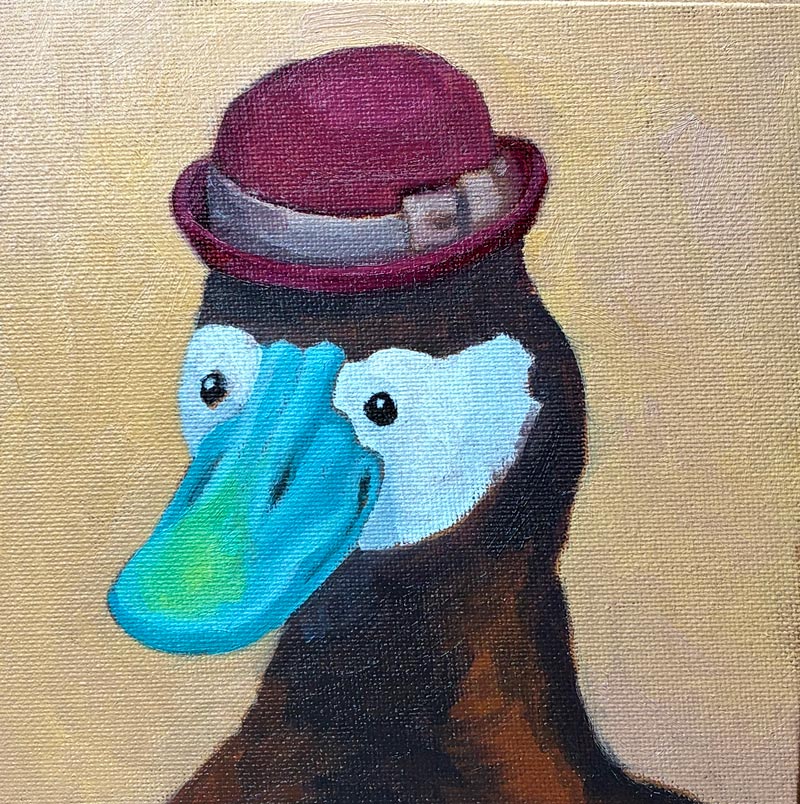
Mistakes, for sure — but altogether a very dapper gentleman!

“Well, I never!”

In my years of aspiring to be a children’s book illustrator, my “specialty” was emotive animals, like this terrified ant about to get scooped up by a hungry anteater:

So with my new dream of being an Etsy artist (no fine art aspirations for me!) I thought I’d see if I could create some original drawings that I would then attempt to recreate in actual paint.

What a pleasure to go back to digital after struggling with this new medium! And rather than worry about my finished product looking too “computer-y,” I could use my tools to figure out composition, expression, and color, and then give it the human touch in oils. This would also have the benefit of being reproducible, because I could grid it to create a template. I can almost smell the money!

So, my first step was creating a picture of a pigeon in a hat. It’s rough, but I like her haughty expression and the rich purples and greens. I’m calling it “Well, I never!”:

Well, I never!

One thing I’d learned way back at the start of this blog was how to transfer an image onto canvas using a grid. In fact, I wrote a whole post about it. So I used Photoshop’s ruler with some guides, and marked the image on my screen into 6 1-inch squares, and then did the same on my canvas.

This method did indeed allow me to get (most of) the positioning correct, but it was time-consuming, and—frankly—pretty frickin boring, even for a tiny image. Moreover, I was once again tripped up by the actual painting, because in attempting to add detail in paint, everything got muddled again:

Clearly, I need professional advice! So I hopped over to one of my favorite cheap resources, Domestika, and watched the section on Portrait Painting with Oil that was part of this specialization series.

And I realized something — probably something obvious to anyone who’s been painting more than a week. I’d always heard that  with alla prima, you were blending paint right on the canvas. But in the video, the artist mixed her paints for each section ahead of time. Sure, there was some blending on the canvas, and some in-between tones that she mixed up on the fly. But she wasn’t just getting close enough and then attempting to correct it on the canvas like I was. Instead, she was being planful — putting down all of her darkest tones (one stroke at a time), and then moving down the line until she’d finished every stroke of the subject’s skin. 

Worth a try! So, I started again — this time following the advice of my bestie Gemini and using Saral graphite transfer paper to first draw my pigeon on paper before transferring it to canvas:

Unfortunately, I did two things very wrong here. One — I attempted to avoid drudgery by free-drawing rather than gridding, which led to her having way too small a head and too big a background, and just being a bit “off” in her expression and physicality. Then, I thought it made sense for me to understand where all of my value changes were, so I added those lines right into my drawing, just like a paint-by-numbers. Yikes! Line overload! I ended up losing my way in them and having to once again edit on the canvas — though thankfully not as much as before.


But, but! I still think this represents a big leap forward for me. I’m sure I’ll cringe when I look back at this in a few months, but right now I’m feeling pretty proud!

Note to Self! The Importance of Picture Book Thumbnails

Whoo-hooie — two down! I have to say, I’m pretty darn tickled with the way this one came out, though that could just be the afterglow of a particularly difficult birth, tricking me into thinking my ugly baby is beautiful. And good God, this was difficult. A bowing flower! A spotlight! A HUMAN HAND!

Another year from now, and I might look back on my crowing with absolute horror — I hope I do! — but when I look back at my earlier posts to where I started, I do feel I’ve earned my pat on the back. And accomplishing this has already given me more confidence in my illustration abilities — this week I need to design a logo for a client who asked for “a tree of life with birds in the branches, surrounded by dogs” (someone needs to explain to my client what a logo is, I think), and it feels within my grasp, and fun! That’s HUGE!

One thing that was enormously helpful in creating these two illustrations has been the thumbnailing process. Since I was unable to take my regular painting class at The Art Academy, I’m instead taking their “Manga, Superheroes, and Comics” online class (the class is supposedly for both kids and adults, but when I signed up they called me to ask the age of the child. Umm…49.). Although the class isn’t exactly what I’m looking for to accomplish my picture-booking goals, it has given me some good critiques and a couple of valuable tips — first and foremost the importance of forcing myself to do multiple thumbnails. I’m a web/graphic designer, and in twenty-five years of creating mockups, I’ve never once sketched out a little black-and-white image of my page ahead of time — I’d just pick a couple of directions and flesh them out to pixel-perfection. How much time I could save — and how much better my work could be — if I first took the time to explore multiple possibilities before committing.

To give you an idea of how this particular composition came about, let’s look at my first idea. Until I put it down on “paper,” this was what I had in my head:


Thank goodness I didn’t stop there! Although the scene is supposed to be about the sheer happiness of the tulip achieving his dreams, the angle of his face doesn’t allow any emotion — the viewer is gazing into the abyss of his head.

I was supposed to do five thumbnails, so I soldiered on:

Here I could at least see his face, but we’re so zoomed in on the body that I worried it wouldn’t read as a ballerina.

So onto the next:

Here I pulled back a little so we’re both seeing the face and the ballerina’s dress, but in trying to make the tulip appear to be bowing, I’ve put him in a terribly contorted position.

So, finally, I did this one:

Much better! I could’ve continued — the guideline was 5+ — but I was pretty happy with this composition and figured I’d be tweaking as I went. And indeed, my final illustration did veer from my thumbnail, in large part because my class critique revealed that people didn’t interpret the larger image as the imagination of the tulip.

In this case, each of my thumbnails was correcting the flaws in the previous one, but that certainly won’t always be the case — for my previous illustration in this series, my thumbnails were simply five different placements of the main characters.

I do hope I can remind myself in future to create a variety of views for each image, even if I’m already “certain” I know how it will look, and even if it feels like a boring and unnecessary step. My work will certainly be better for it.