In 1964, a Swedish tabloid unveiled the work of an “unknown French artist” by the name of Pierre Brassau. Critics rushed to praise him, with one prominent reviewer stating that “Pierre is an artist who performs with the delicacy of a ballet dancer.” The rub? “Pierre” was actually “Peter,” a seventeen-year-old, paint-eating, tantrum-throwing chimpanzee, gifted a set of paintbrushes to test whether critics could tell the difference between modern art and monkey art (yes, yes, I know chimps aren’t monkeys).
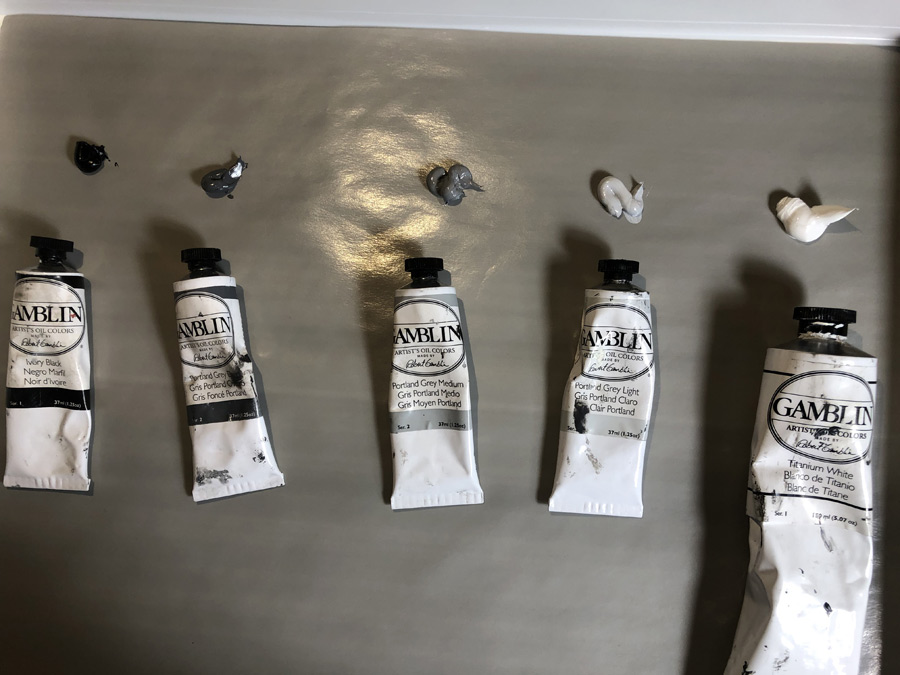
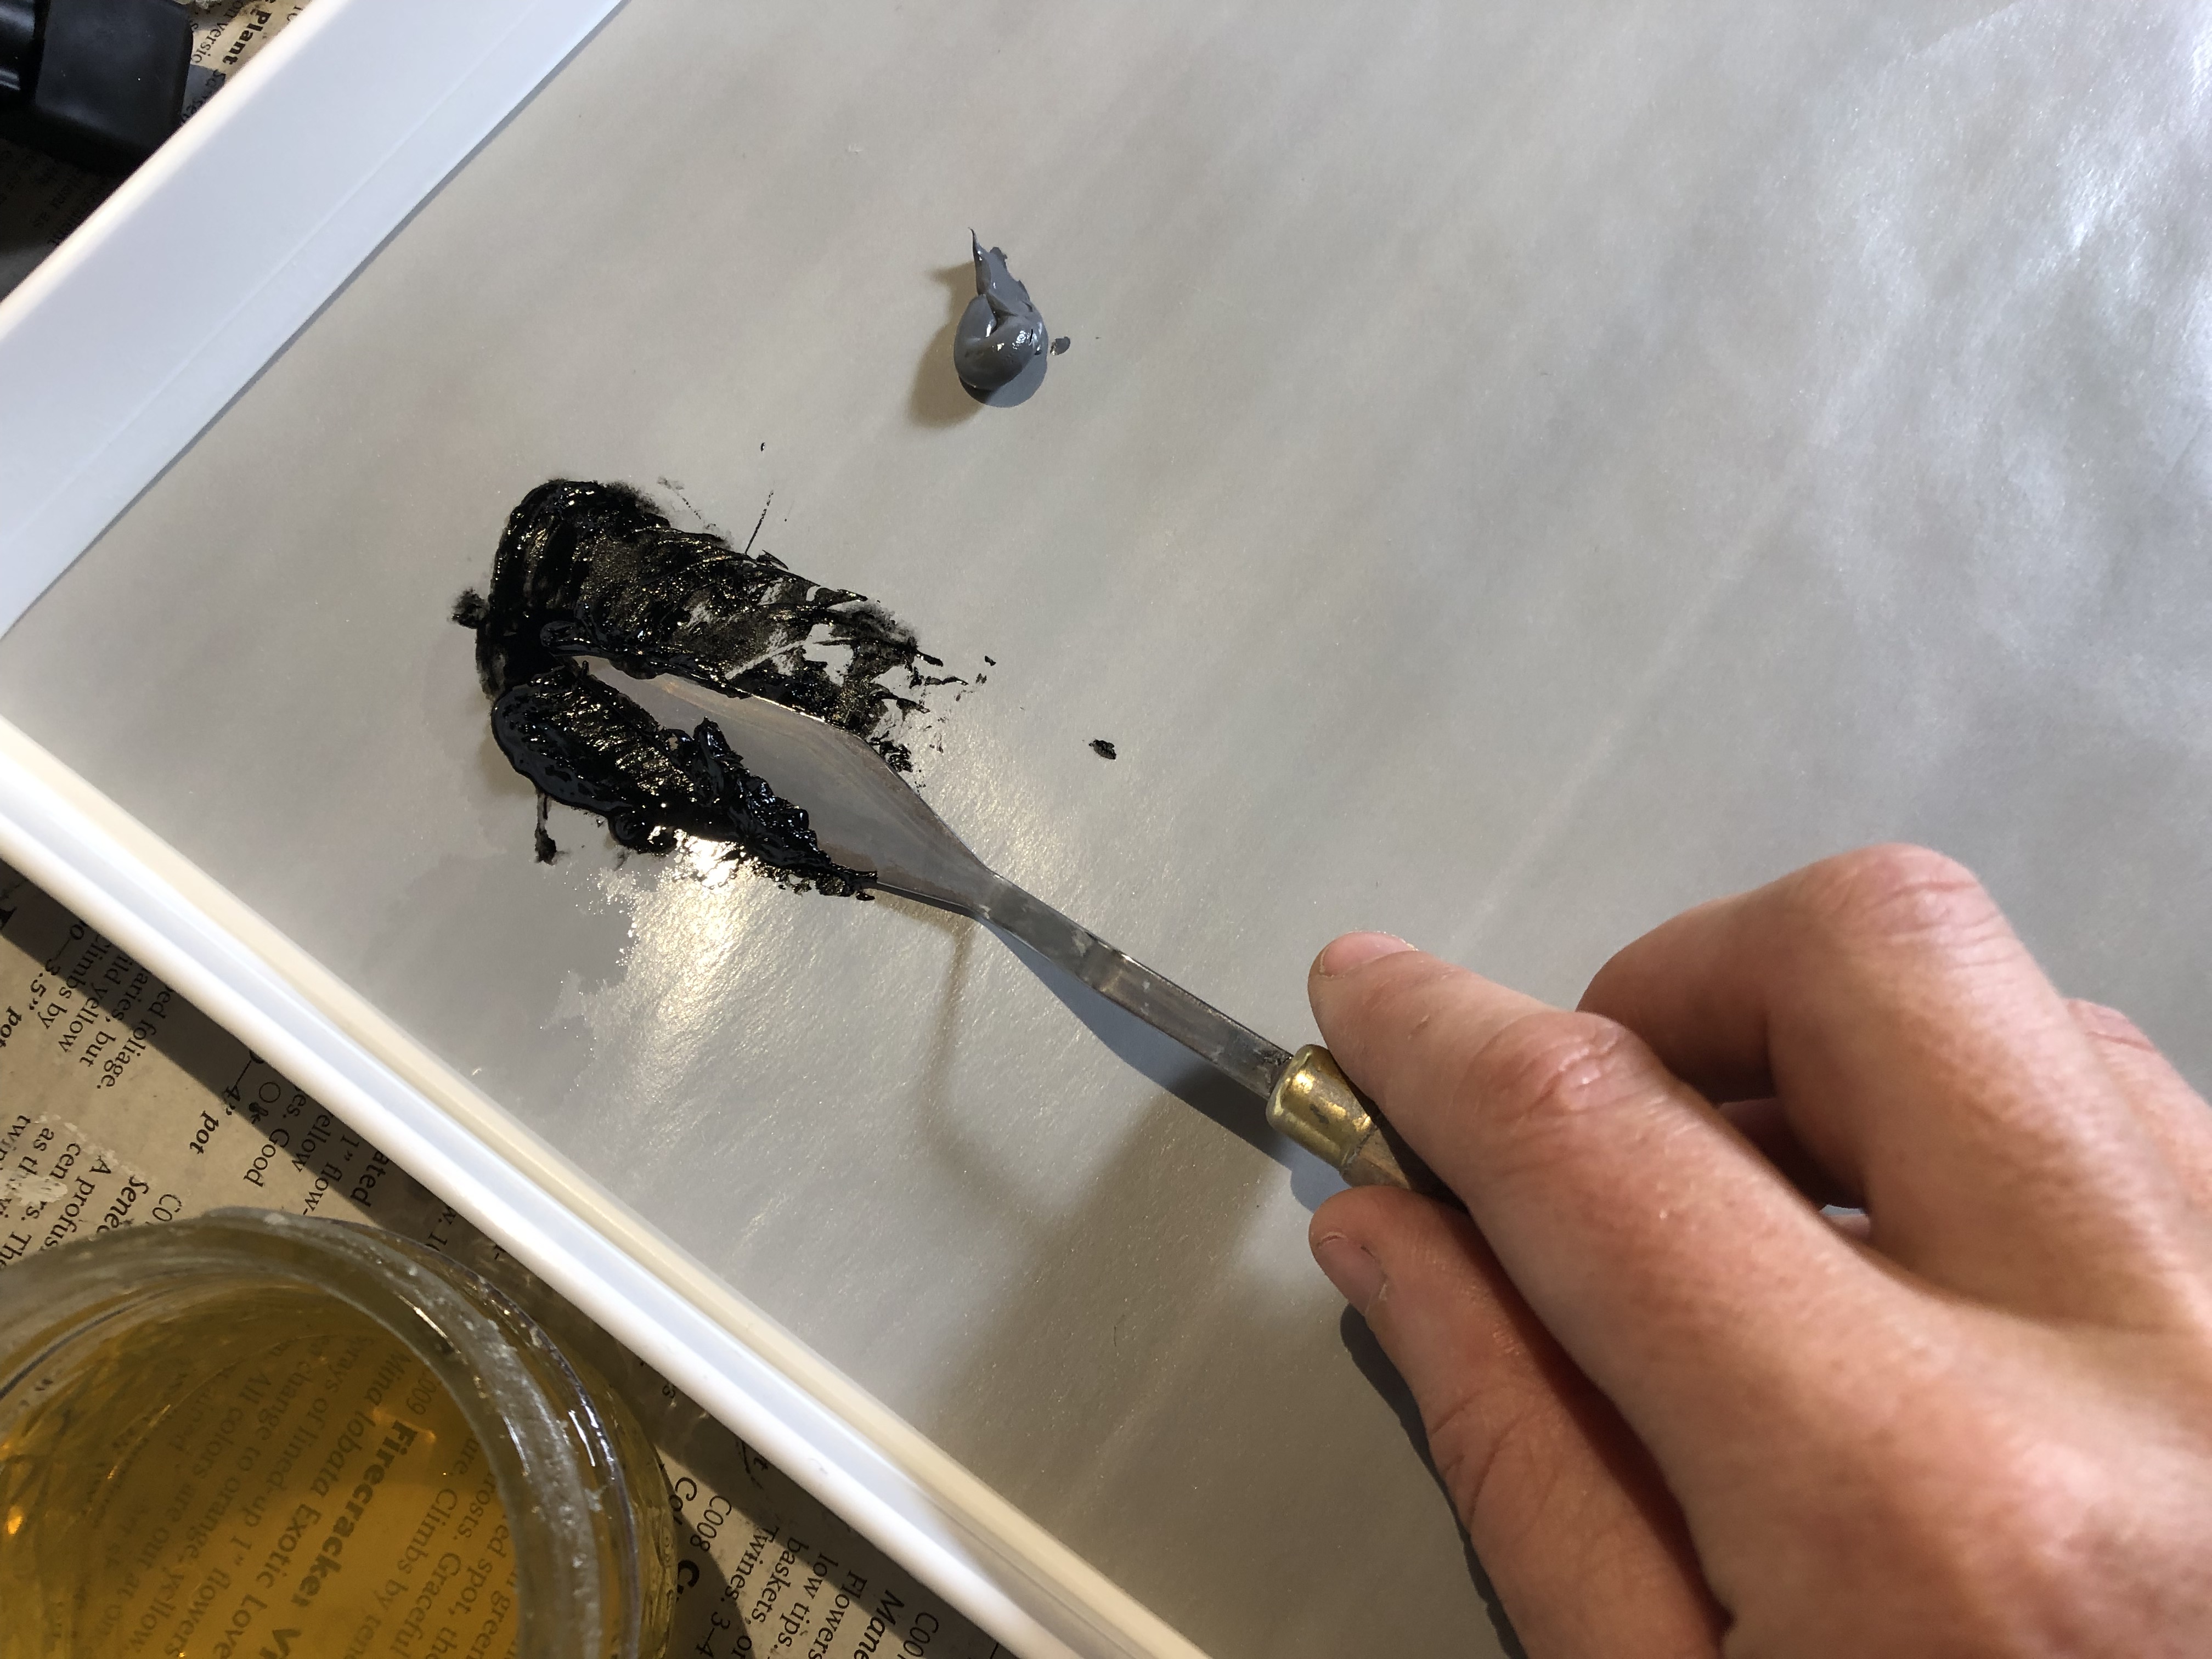
While Pierre’s work is more abstract than mine (…is attempting to be), our process is similar: alla prima, or wet-on-wet, a method by which a painting is completed in a single session rather than constructed from thin layers over a period time. Back in the early days of this blog, I was taking classes to learn to paint with this second (slooooowwww) method – as the Old Masters did – while also having a messy, dirty, passionate affair with the first. And when I decided to go back to painting, the first thing I did was dig up my old copy of Daily Painting, by the queen of effortless (-seeming) alla prima, Carol Marine.
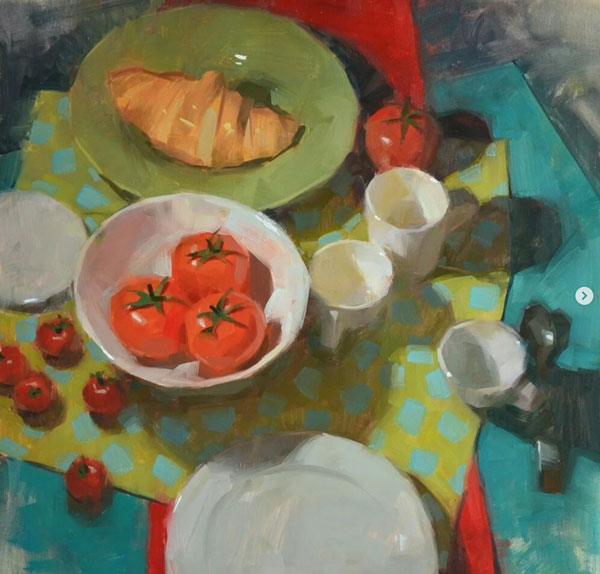
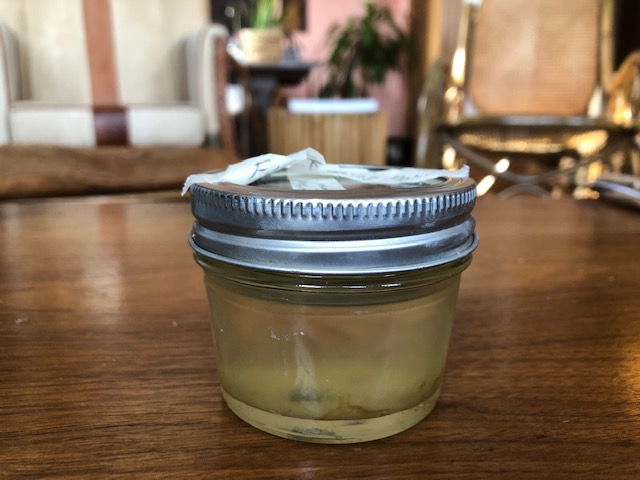
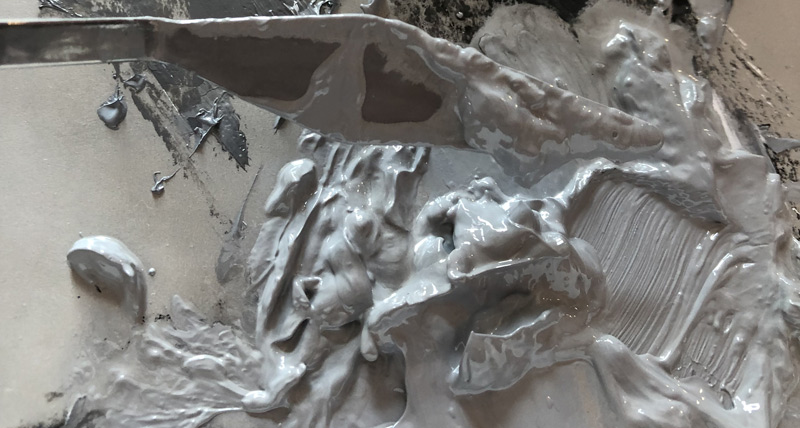
Oh, Carol. She’s like one of those fabulous French women who throw on mom jeans and a t-shirt and look like an it-girl, while me in the same clothes is more like Cousin-It-girl. Somehow the unstructured messiness of it all looks dynamic, passionate, effortlessly cool in her pieces, while in mine it looks like, well, monkey art:
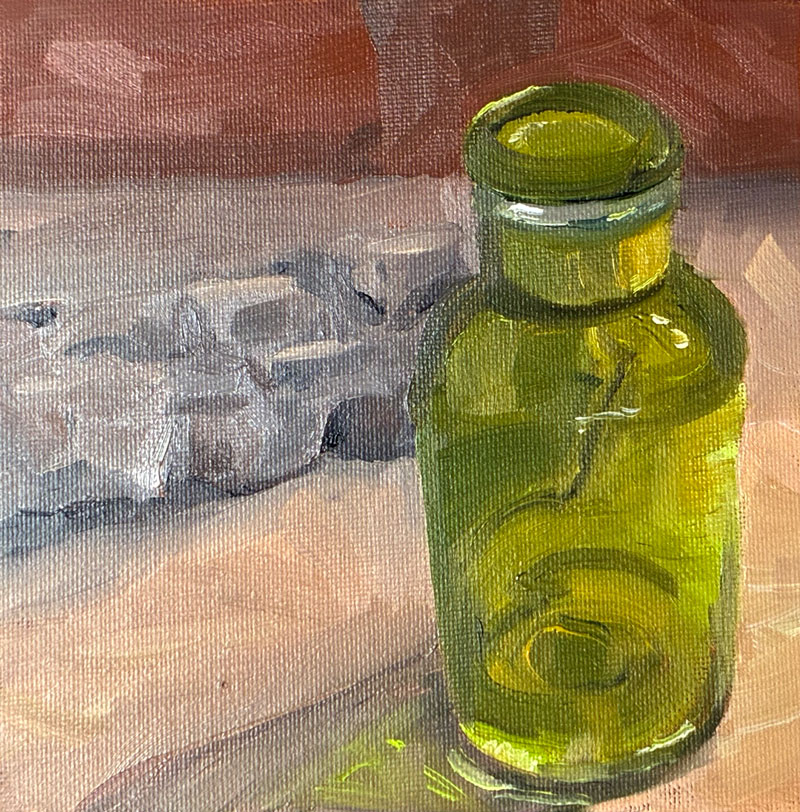
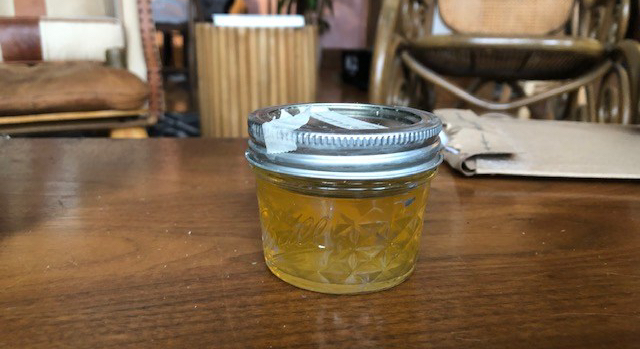
Looking at it now, I’m going to take back some of my charming self-deprecation to admit that there are actually aspects of this piece that I like. (Since writing this post, I’ve created a second painting that’s much worse than this one. You’ll see that one soon.) My bottle does indeed look like transparent glass. After wiping off my first attempt (and cursing myself for once again starting off with something too hard), I sketched out only those lines and value changes that were necessary to understand the form of the bottle, instead of once again getting lost in all those persnickety little details that the alla prima method struggles with. And taking Carol’s advice, I started my painting with the most saturated, pure patch of color – in this case, the chartreuse-y light on the right of the bottle – and once applied, left it the hell alone. So by that measure, I done good.
But what the heck is up with those proportions? Well, here rears the ugly head of my most prominent vice: laziness. In preparation for this still life, I’d made a still life box to control my light source – just a cardboard box with holes punched in the top and side for lights as seen on many a YouTube video.
Lazy moment #1 occurred when I realized my light-holes were too small and – rather than recut them – thought I’d use two rechargeable mini book lights instead of something more professional and permanent. And somewhere in the middle of painting, one of those lights died, and (lazy moment #2), I didn’t bother to replace the battery, thinking I could still see well enough.
But I couldn’t. That piece of driftwood in the back became a fuzzy hunk of grey, and (lazy moment #3), I thought I’d just paint it from imagination (instead of grabbing a new battery from the friggin next room) — which led me to envision it from the side rather than from the same top-down perspective I’d used for the bottle. Which led me to attempt to alter the top of the bottle to make it more side-on. And etc., etc. You give a mouse a cookie and all that.
And that’s the issue with alla prima, and why I fear it may not be for me. I’m much more of a “pantser” than a “planner,” and I love my control-Z. My process for artwork has always been to figure things out as I go along, and that just doesn’t work for a style that demands I get things right the first time.
But at least I’ve learned not to eat my paint. Onward!